Garage door hinges and rollers must be replaced on a regular basis. Once you’ve figured out how to do it, you can do it yourself. On both sides of the garage door, the hinges expand in size. A #1 hinge connects the bottom part to the second, a #2 hinge connects the second to the third, and so on, all the way up to the top hinge. There are no moving parts on the top and bottom hinges.
Step by Step Instructions:
- A garage door provider or a hardware store can provide you with sets of garage door hinges. Two bottom hinges, two top hinges, two #2 hinges, two #3 hinges, and five #1 hinges make up a conventional garage door. Because #1 hinges run through the middle of the garage door, you’ll have more of them. You may potentially have two #4 hinges, depending on the height of your door. For assistance in determining the correct number of rollers for your door and hinges, consult the dealer.
- If your garage door employs an opener, unplug the opener’s power line from the ceiling outlet. To disconnect the door from the garage door openers, pull the emergency release cable.
- 6 inches below the first side hinge linking the first and second sections of the garage door, tighten a set of vice grips to the track. Allow the vice grips’ handle to rest at the bottom to prevent the piece from tilting inward.
- Remove the carriage bolt nuts that connect the hinge to the door with a 7/16-inch wrench. Each hinge will have four bolts.
- Remove the hinge on the bolt carriage by inserting a flathead screwdriver between the door part and the hinge. Grasp the door hinge and roller and pull them out of the track. Replace the roller with one from a #1 hinge and slide it out of the door track. Adjust the carriage bolts on the hinged door until the hinge is flat with the door portion.
- Reinstall the nuts on the carriage bolts and tighten them all the way down. Remove the vice grips from the track door and go to the next joint. Replace both hinges and repeat the operation on the opposite side of the garage door. After the side hinges, the top and middle hinges will be replaced.
- Place the vice grips 6 inches below the top hinge on the door track. Remove the retaining nuts from the garage door’s top hinge. The top hinge has the appearance of a metal tent. At the top of the hinge is an adjustable sleeve. Remove the old door roller and hinge.
- Loosen the nut that links the adjustment sleeve to the roller on the new top hinge. At the top of the door, insert the top hinge roller and snap the roller and hinge into place. The four carriage bolt nuts should be used to secure the top door hinge.
- Tighten the sleeve adjustment nut by pressing the top against the section head. This will prevent a tight seal at the garage door’s top. A rep for the top hinge on the opposite side.
- One by one, reattach all of the central hinges. The #1 hinges are those in the center. Reconnect the gate to the garage door opener and plug the opener’s power wire into a ceiling outlet.
Tips and Warnings
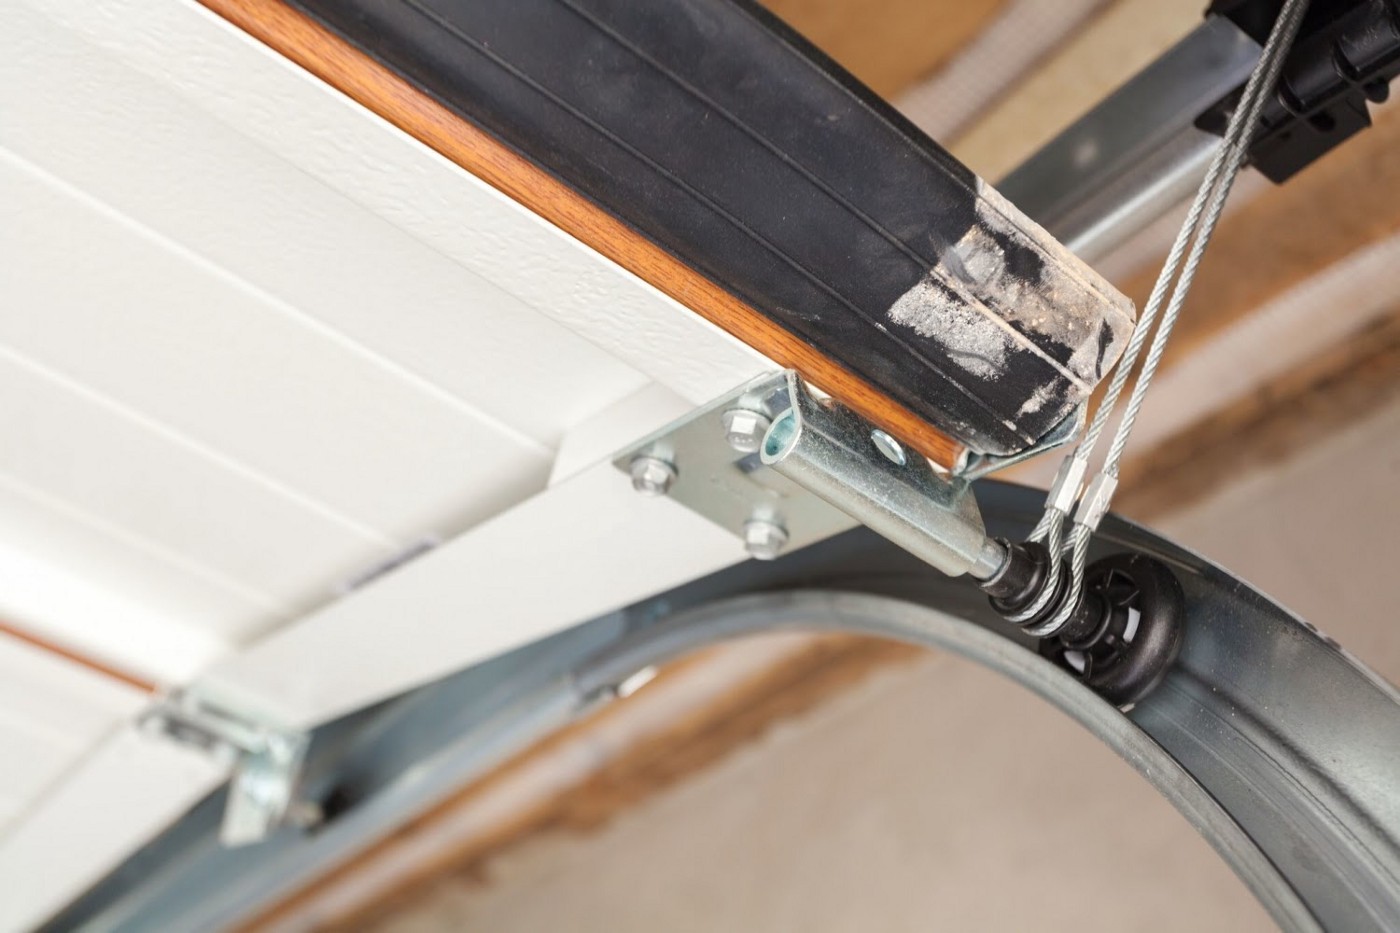
Professionals should replace the bottom hinges. Because the door cables are attached to the hinge spring and the door, they are under a lot of strain.