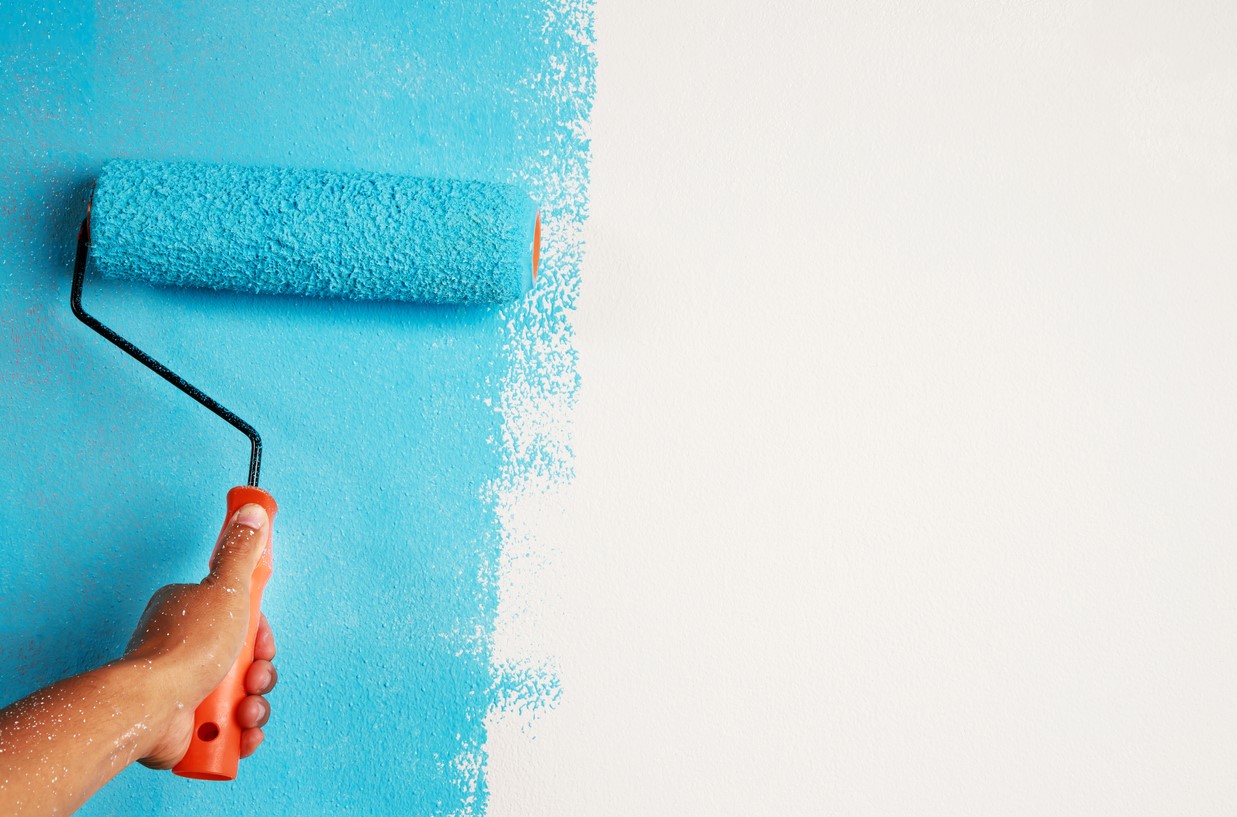
If you’ve chosen to get started and have one or more reasons or very large flat surfaces to paint, roller painting will not only be more efficient and faster, but the result will be more uniform and meet your expectations. However, you must still use the proper technique and tool! Everything is explained here.
The Choice of Roller
A roller is made up of a handle, which can be made of various materials and lengths, and a sleeve. Aside from your painting ability, the quality of the paint you choose and the roller you use will play a significant role in the success of your business. As a result, you must select one that meets the following criteria: the type of paint used, the type of support to be painted, and the desired final result.
What Type of Sleeve?
- Very Short Hair Sleeve: The fibers are 5 to 6 mm in length. It can be used to apply lacquer or gloss paint to doors or furniture. They are also known as “lacquer rollers” and enable for a completely smooth finish.
- Short-Haired Sleeve: The sleeve’s fibers measure between 8 and 11 mm. This sort of sleeve allows you to refinish a smooth surface and achieve a consistent outcome.
- Long-Haired Sleeve: The sleeve’s fibers measure between 12 and 14 mm. This sort of sleeve is suitable for painting relief surfaces such as paneling, glass cloth, plaster, and so on.
- Honeycomb Sleeve and Spiked Sleeve: These two styles of sleeves enable you to get a roughcast or ornamental finish.
Which Sleeve for Which Paint?
- Foam sleeves come in handy when applying varnishes and resins. They are suitable for use on any flat surface.
- Synthetic fiber sleeves are typically used to apply acrylic or water-based paint.
- Mixed fiber sleeves are often suitable for use with oil paint.
- Natural fiber sleeves can be used with any sort of paint.
- You should also be aware that some brands have implemented a color code. In the Zolpan brand, for example, a yellow stripe on the sleeve indicates that it is intended for glycerol paint, whereas a green or blue stripe indicates that it is intended for water-based paints.
What Size Roll?
There are also several roller sizes available to meet your demands, depending on the job site. The standard format is 180 mm, however, there are smaller and larger sizes available. Furthermore, if you need to paint a ceiling or a wall, consider using a roller with a telescopic handle. It will simplify your life!
The Rest of The Material
In addition to the roller, you will need the following items to properly paint your surface:
- You’ll need a repainting brush to make the angles. It must be chosen in accordance with the available resources.
- Masking paper is used to protect parts that you do not wish to paint.
- A protective tarp should also be used to protect the floor and, if necessary, the furnishings.
- The paint must be selected in accordance with the surface to be painted. Choose matte paint for the ceiling. Choose a washable paint if you want to be able to clean the walls.
- In most cases, an undercoat is also required.
- You’ll also need a container to store your paint in. You can choose between a basin that requires a wringing rack and a flat tray with a wringing space for your roller.
What to Know for The Best Results
Some rules must be followed in order to achieve the best results.
- To paint, the temperature in the room must be between 8 and 35 degrees Celsius. It must be less than 70% relative humidity. These conditions would allow you to avoid several hassles while applying your paint.
- It is also vital to follow the manufacturer’s directions for dilution, drying time between coats, and so on.
- Also, never overload your roller and always wring it thoroughly on the grid before applying it to the surface to be painted.
- Always work in 1 square meter increments and one region after the other.
Preparing Your Site
After gathering all of your materials, and before you begin painting with your roller, you must thoroughly prepare your work area.
- Empty the room as much as possible and place protective tarps on the floor and potentially on any heavy furniture that cannot be removed.
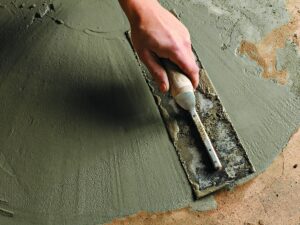
- If the surface contains holes or cracks, the wall must be repaired first. Light or heavy sanding of the surface may be required depending on the surface. This can be accomplished using fine-grit sandpaper or a sander.
- If you intend to apply the fresh paint to an already painted wall, it is recommended that you first wash it with water mixed with soda crystals. Allow the surface to dry completely.
- Install masking tape along baseboards, around doors and windows, at the junction of the ceiling and the wall, and so on to protect what should not be painted and mark off the areas to be painted.
- Thoroughly combine your paint. The best option is to utilize a drill-mounted mixer. Make certain that you get all the way to the bottom of the pot.
- Put some paint in your trash can.
- Wear fearless clothing to avoid getting dirty, and a protective mask is recommended.
Painting a Wall with a Roller
At very last! Everything is in order! The time has come to begin painting. Here are the steps to take:
- To begin, use your repainting brush to smooth out the angles. To put it another way, you’ll apply a strip of paint along the masking tape to draw the outline of the area to be painted. You can produce a 100 mm strip, taking care not to load too much so as not to create a demarcation that is tough to blur. By doing so, you avoid staining the surface that will not be painted with your roller later.
- After you’ve cleared the angles, you’ll be able to paint the surface by area of 1 square meter, beginning at the top and working your way down, and from right to left or left to right depending on whether you’re left-handed or right-handed. The crucial thing is that your arm carrying the roller does not brush against the freshly painted square.
- Load your paint roller with paint before you begin painting. Dip the bottom half of the sleeve into the paint, then roll it on the wringer rack. This will evenly distribute the paint throughout the whole surface of the sleeve while removing any excess. It’s all about finding the correct balance: the sleeve shouldn’t drip, but it should be loaded with enough paint.
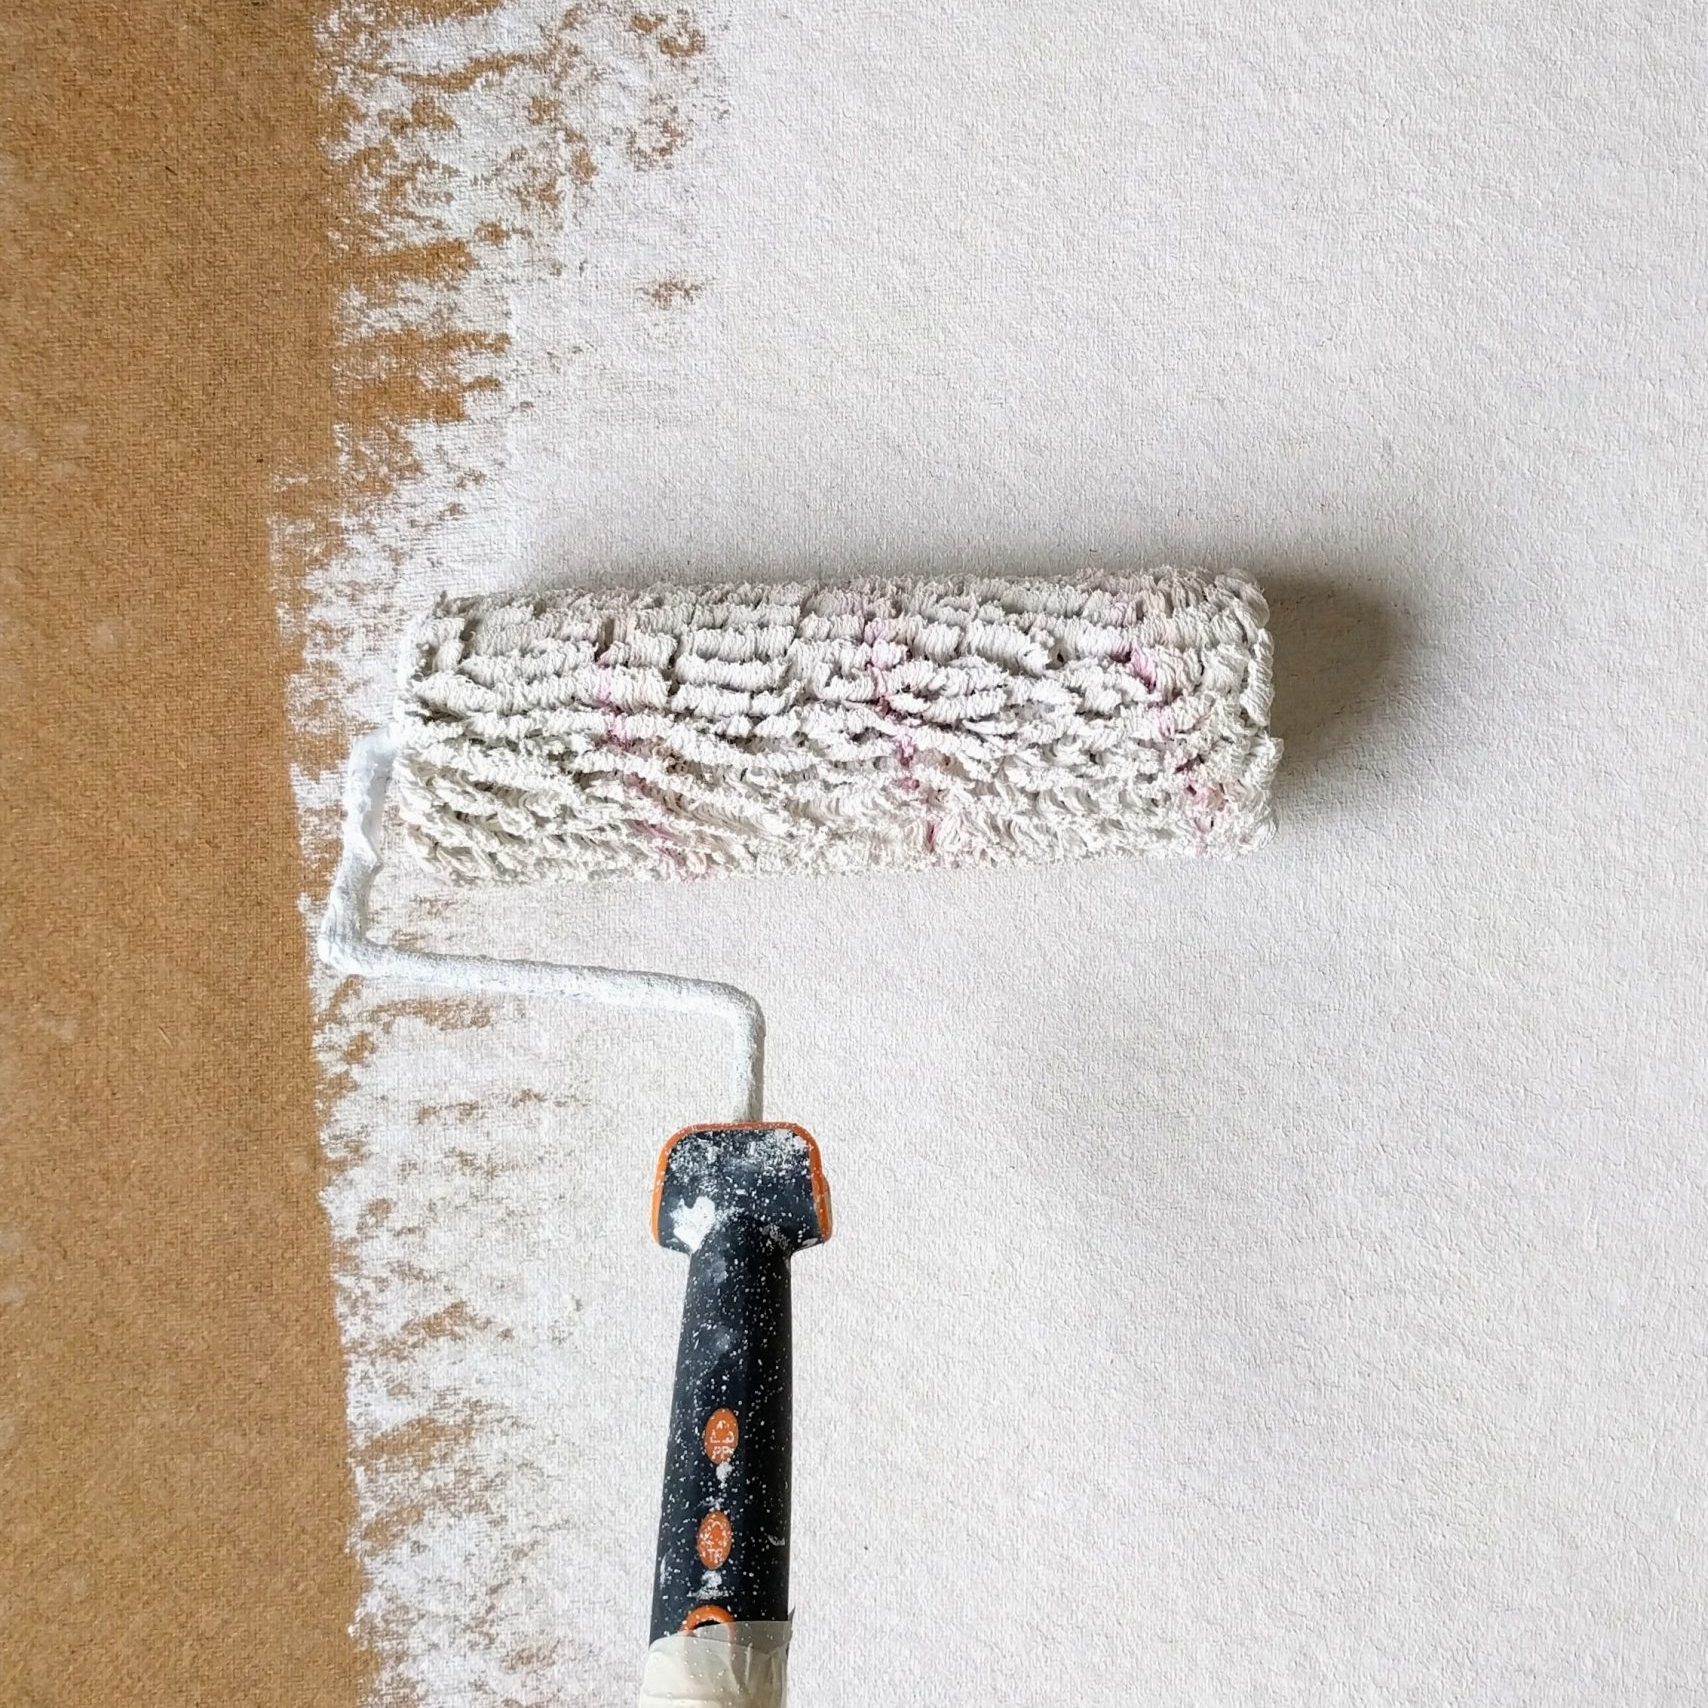
- Apply the paint on the wall with appropriate force. To begin, roll up and down the first area to be painted. This is equivalent to three or four roll widths. Then, from left to right, smooth out the layer. This is referred to as a cross pass. As needed, refill your roller.
- Do this area by area until the entire surface has been coated.
- Allow for adequate drying time before applying the second layer in the same manner.