Do you want to put a covering on your floor, but it has different levels, which will make it difficult, if not impossible, to do so? Patching is a solution that can be applied to fix this issue. You are cordially invited to learn about this method, which will assist you in achieving a floor surface that is both smooth and prepared to receive any kind of floor covering.
What is a Patch?
Patching is the process of applying plaster or mortar to a surface, usually the ground, in order to flatten and level it. This method is often employed to achieve a flat surface ready for a finishing coating, whether in rehabilitation or new construction, indoors or outdoors.
This technique allows you to absorb the surface’s faults and unevenness before applying a coating, such as tiling, carpet, or linoleum. Leveling can be done on a solid support, as well as on tiles, glued strip parquet, and glued and stiff plastic tiles.
Any floor covering that is not linked to the substrate, such as floating parquet or simply laid carpeting, must be removed before patching.
In What Case to Level a Floor?
If you find yourself in one of the following scenarios, among others, you may need to patch:
- When renovating a room, you discover that the support is severely damaged and will not allow you to install the new floor covering of your choice after removing the old floor covering. Only through leveling will you be able to find a smooth surface and remove all of the flaws.
- If the level discrepancies in your concrete slab are greater than 5 mm, you can level it to restore its flatness to the entire surface.
- You recently purchased a property, and the floor in one of the rooms is covered with a tile that you dislike or that has worn over time. Rather than attempting to eliminate it, repair it and then apply a more suitable coating.
The Different Types of Patching
Depending on your requirements, you can select from a variety of patches.
- The classic leveling compound: It smoothes out minor flaws up to 2 cm in thickness. It is usually done with a leveling mortar.
- Self-leveling compound: In this situation, the leveling mortar must be prepared such that it may be easily disseminated. It covers defects up to 2 cm in diameter.
- The self-leveling compound: It, for one, allows for a flawlessly smooth surface and the filling of flaws up to 4 cm.
- Fiber leveling compound: It improves the stability of your leveling by containing metal, ceramic, or mineral fibers. As a result, it can be used on larger flaws up to 3 cm in size.
Which One to Choose?
The matter of choosing arises now that you are aware of the several varieties of leveling compounds. To make your decision, examine the environment in which the patching will be performed as well as the support. Here are some pointers to assist you make your decision.
With Respect to The Environment
If you need to level an outdoor surface, a powerful leveling compound, such as a fiber leveling compound, is advised, but a self-leveling leveling compound will suffice on a little damaged floor with faults that do not exceed 2 cm. If the ground is severely damaged, with flaws up to 4 cm deep, a self-leveling patch is preferable.
Compared to The Support
If you scrape the surface with a nail and the traces do not remain superficial, the surface is relatively delicate. As a result, it is prudent to employ a hardener in the leveling mortar.
Furthermore, if the floor has traces of paint, glue, or other materials, or if the cement is too porous or not porous enough, you can begin by applying a primer. Pour a little water to see if this is the case; if it is absorbed in 1 to 5 minutes, you won’t need a primer.
The Necessary Equipment
You will need the following materials to make the patch:
- Chisel
- Hammer
- Vacuum
- Sanding Stone
- Mixer
- Container
- Roller and The Bonding Primer if Necessary
- Putty Knife
- Flemish Trowel
- Cleat
- Transparent Silicone (Optional)
- The Leveling Cement of Your Choice
It is ideal to have two individuals produce a leveling compound. As a result, while one person prepares the mixture, the other applies it. There will be no squandering of time!
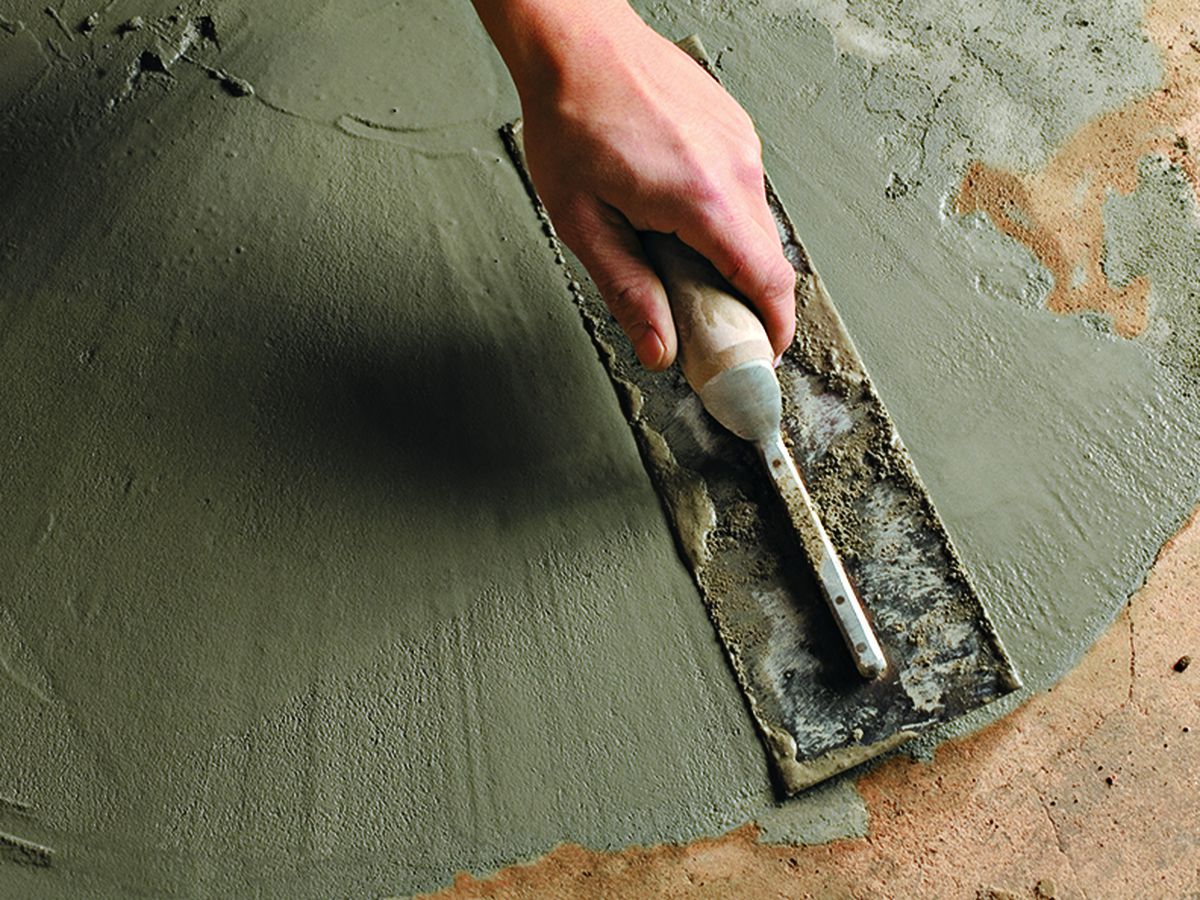
The Steps to Make a Leveling
- Prepare the patched surface by removing anything that can be patched with the putty knife. Remove any crumbly sections if you find any cracks.
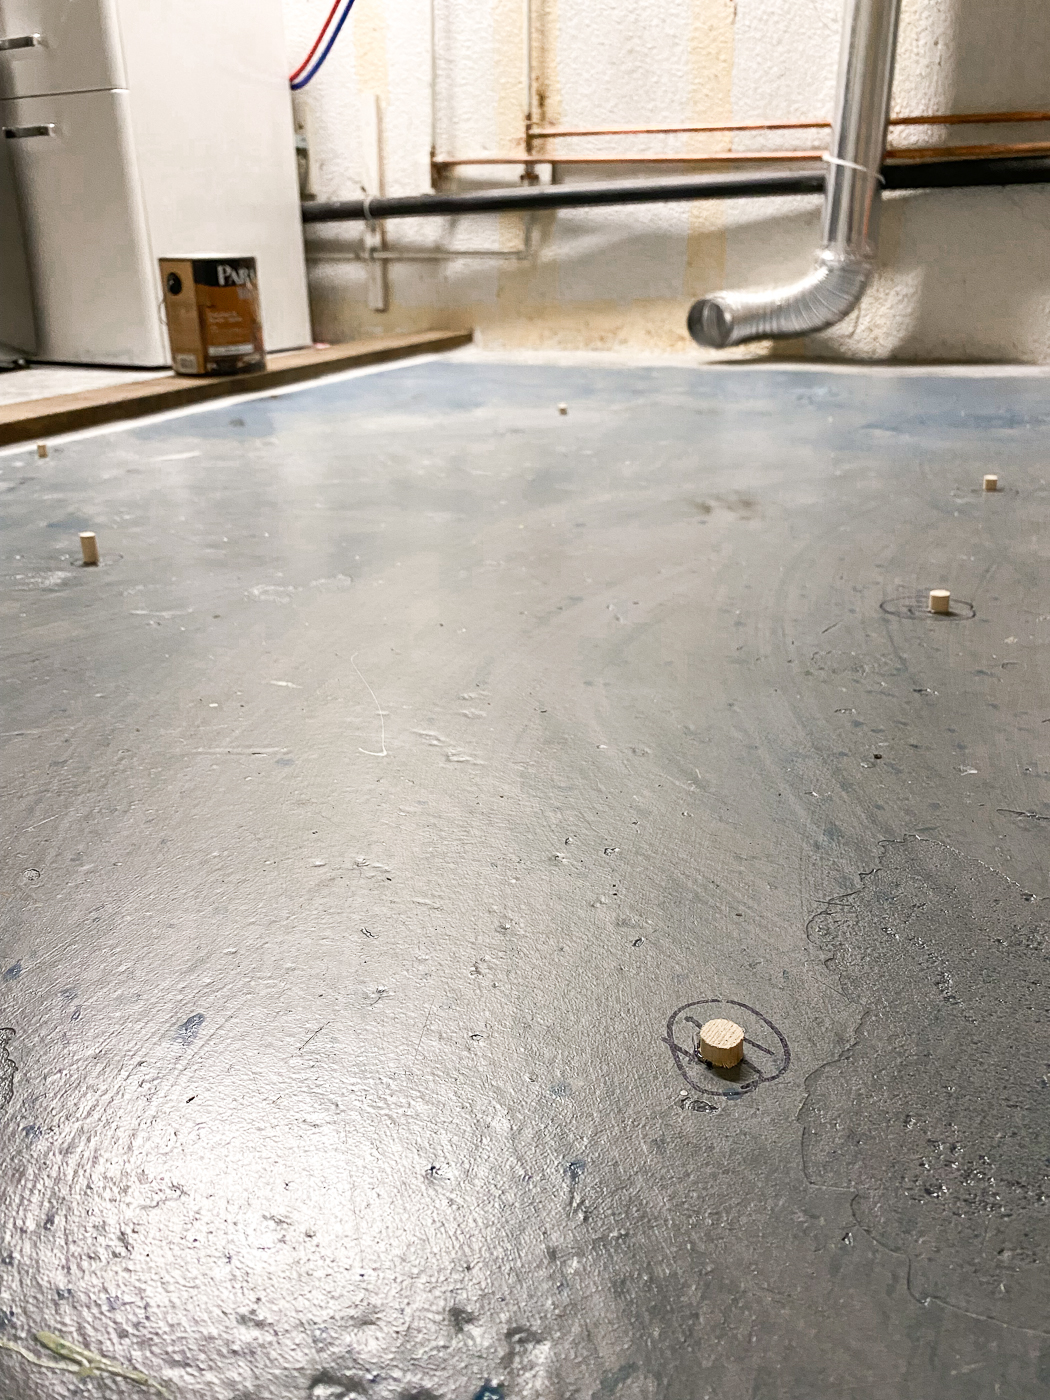
- Fix cleats to the ground, for example, to prepare the workspace. You can then use silicone to ensure that the product does not flow beneath the cleat that defines your work area. Protect the bottom of the walls with masking tape. Similarly, protect the water and heating pipes so that the leveling compound does not restrict their expansion.
- Use a vacuum cleaner to thoroughly clean the area.
- Apply the primer over the entire area using a roller to manage the porosity of the surface. Make sure to start at the bottom of the room and work your way up so you can get out after you’ve covered the entire surface.
- Allow for the drying time specified by the manufacturer.
- If you wish to make a larger batch, prepare the leveling compound in a bucket or a garbage can. Follow the manufacturer’s dosage recommendations. A drill-mounted mixer can be used to create a perfectly uniform mixture.
- Allow a few minutes for air bubbles to rise to the surface.
- Then, starting at the bottom of the room, pour the mixture in 1 m2 increments. To cover the surface uniformly, use a Flemish trowel to distribute the slurry in circular motions.
- Then proceed to the next square meter area, and so on until you have completely covered the room.
- Wait until the product is entirely dry, as directed by the manufacturer.
- When your leveling is completely dry, remove the cleats.
What Thickness for a Patch?
A leveling compound’s application thickness is typically between 3 and 10 mm. If you require a more robust leveling compound, you can increase the thickness to 30 mm. Aside from that, making a screed is the best option.
Once you’ve determined the thickness of your patch based on the size of the defects to be covered or the drop to be repaired, you’ll need to figure out how many bags you’ll need. This value is determined by the mortar used, the surface to be covered, and the desired leveling thickness.
To get an idea, imagine that an area of 1 m2 with a thickness of 1 mm requires an average of 1.6 kg of mortar. Thus, if you have a 20 m2 surface and want to make a leveling compound 10 mm thick, you must perform the following calculation: 1.6 x 10 x 20 = 320 kilograms, or approximately 13 25 kg bags.
How Much Does It Cost?
The cost of leveling varies depending on the surface to be covered, the thickness desired, and the method of leveling selected. If you use traditional mortar, one dose of cement must be mixed with three doses of sand and one dose of water.
If you choose a ready-made solution, the cost will be higher, exactly as if you hired a professional, because you will also have to account for labor costs.
Can We Patch All Surfaces?
As previously demonstrated, it is feasible to build a patch on any hard surface, whether raw or coated, as long as it is not floating and rigid. Leveling can then be done on concrete, cement, tiles, stiff bonded slabs, or parquet.
In the case of floating or flexible coverings such as carpet, lino, floating parquet, etc., or peeling floor paint, however, you should first remove anything that can be peeled off.