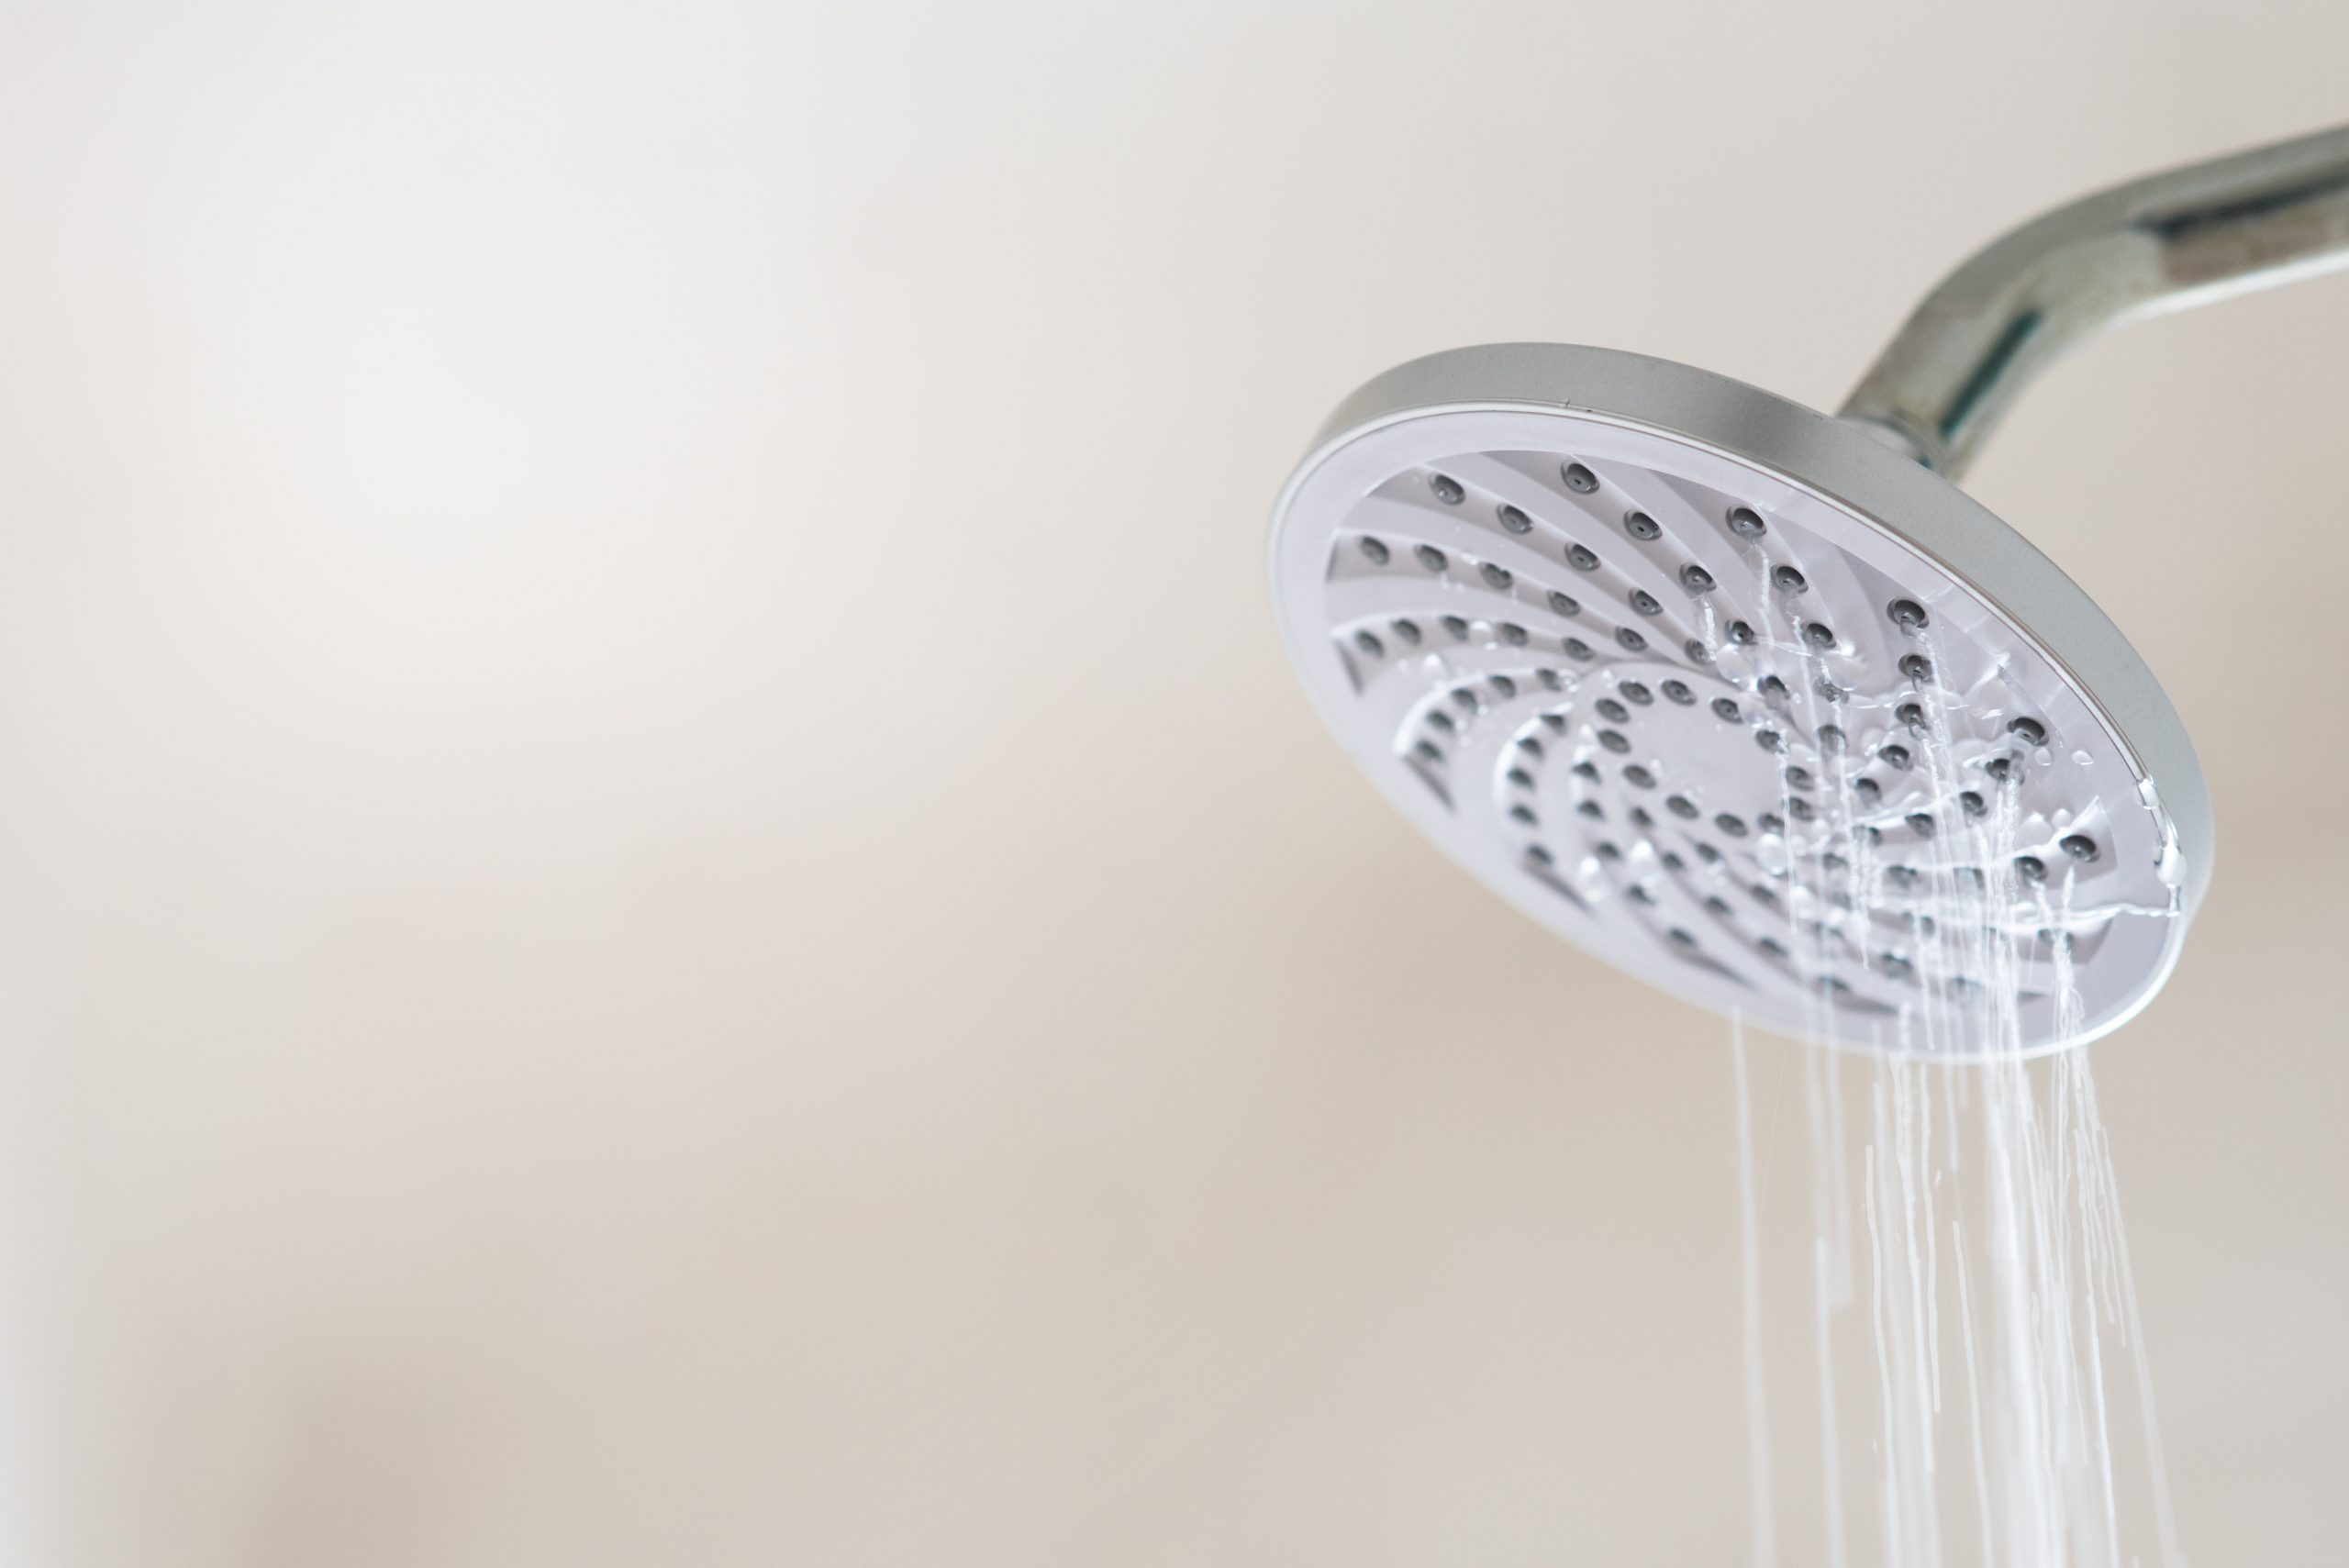
A leak at the level of the shower head can be problematic at a time when we are avoiding all waste. Indeed, we are now fully aware that water lost as a result of a leak has an influence not only on the environment but also on our budget, not to mention the damage it can create. If you encounter this issue, it is critical that you address it as soon as possible by following these simple steps.
Check The Nature of The Problem
Before beginning any repair, it is recommended to ensure that the nature of the problem is not merely due to improper tap shutting. It is true that some handles are more difficult to close than others. This answer may appear apparent, yet it is not uncommon for the problem to originate there.
If water continues to flow even if the faucets are closed, the following could be the cause:
- The pommel is filthy in and of itself.
- The seal between the shower head and the hose has worn and allows water to escape.
- The tubing connecting the knob to the faucet is worn.
- The faucet valve cartridge is faulty.
Shut Off The Water
If your shower head continues to leak water after the faucets are turned off and you’re thinking of fixing it, make sure you cut off the water first. There are two possibilities:
- Alternatively, you have the option of shutting off the water immediately at the shower level.
- On the other hand, if this is not possible, you must turn off the water in all of your accommodations. The water shutoff valve might be located in the basement, garage, meter closet, bathroom, or elsewhere.
How to Repair Your Shower Head?
As previously stated, a water leak at the shower head can be caused by a number of factors. The method of progressing will vary depending on the function.
Descale The Shower Head
When the shower head leaks or the water no longer flows or flows irregularly, it is frequently due to an obstruction of the water outlet holes. Indeed, limestone tends to collect over time. It is therefore critical to perform frequent cleaning to ensure a good flow of water and to safeguard the seals.
You can do so by following these steps:
- Disassemble your shower head after turning off the water.
- Allow it to soak overnight in a bowl of white vinegar.
- Rinse it completely. If necessary, a toothpick can be used to remove tartar residue that is more stubborn.
- Reassemble your shower head and check to see whether the problem has been resolved.
Replace a Faulty Seal on The Shower Head
A faulty seal is another common cause of a leaking shower head. It is usual for it to degenerate over time and, as a result, cease to function. All you have to do is replace it with:
- Disassemble the shower head after shutting off the water. It is a rather straightforward procedure.
- A ball joint can be found on the back of the pommel. It’s a rubber-sealed metal ball.
- Replace the seal with a new model by removing it. If you are unsure, take the old seal to your local DIY store to ensure you are purchasing the same one.
- After installing the replacement seal, reinstall the shower head.
- Restart the water to ensure that there are no further leaks.
Check The Pipe
It is also possible that the water leak is caused by hose wear. Nothing could be easier than checking and replacing this part:
- Remove the hose from its current position.
- Then examine the inside of it.
- Replace it if it shows symptoms of wear.
Replace Faucet Seals
If these simple measures haven’t solved your leak problem, the issue could be with the taps. Their seals are also put to stress and can become damaged, necessitating replacement. Here’s how it’s done:
- Remove the handle from each faucet after shutting off the water. Unscrew the screws concealed beneath the red and blue covers to accomplish this.
- To remove the handles, pull on each one.
- Unscrew the head of each faucet with an adjustable wrench. After that, you saw a cup that had a valve and a seal that prevents water from flowing.
- Remove the gasket with a flathead screwdriver and replace it with a similar new one.
Call a Professional
If, despite your best efforts, you are unable to identify the source of the problem, it is recommended that you consult a specialist. Indeed, if you ignore a water leak for too long, you risk causing harm to your property, whether it’s mildew or water damage to your neighbor on the floor below. As a result, you understand that any water leak situation requires immediate attention. Furthermore, as previously said, all of this wasted water comes at a cost to you and has a huge impact on the environment.