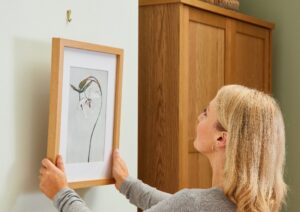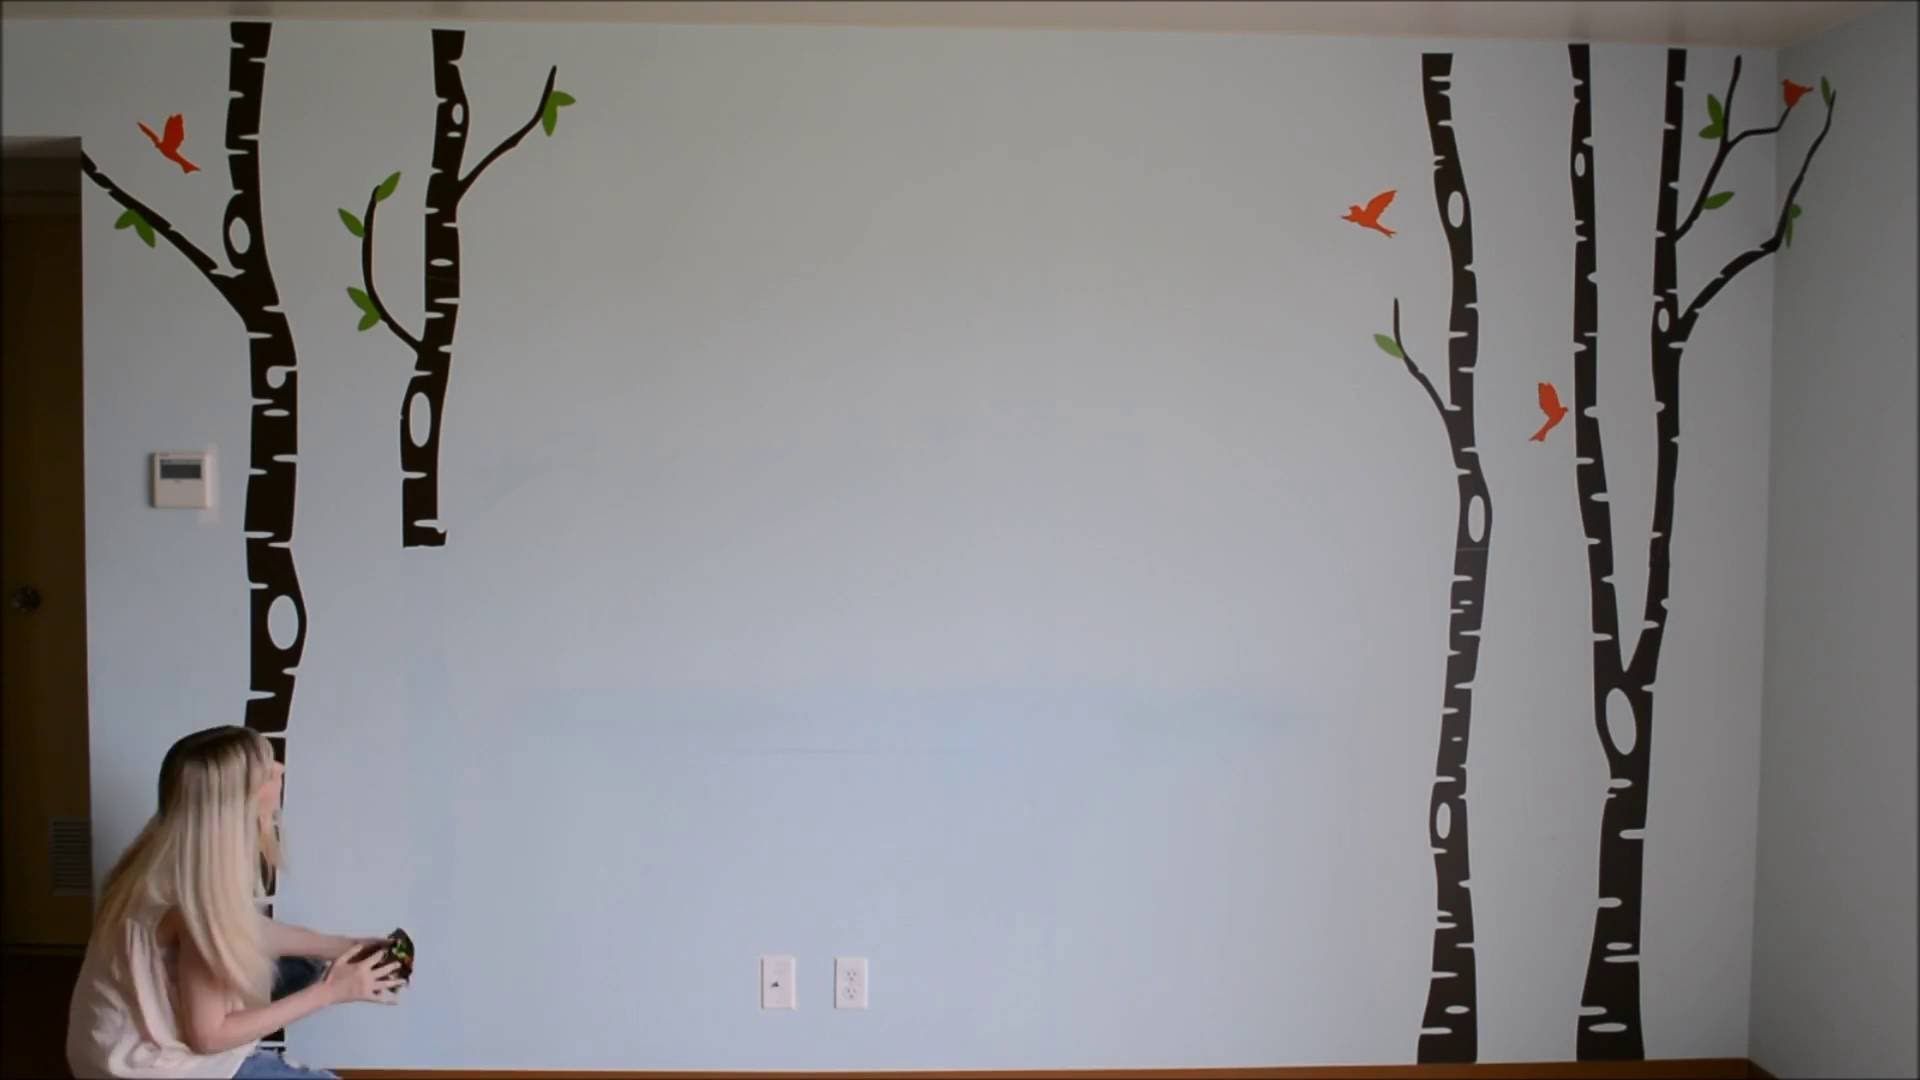
Decorative vinyl is a low-cost and easy-to-use resource for decorating our home’s walls. They’re also quite simple to put together and may stick to any smooth surface. Is it, however, as simple to remove the vinyl from a wall?
Removing these wall coverings doesn’t have to be difficult if you use the right equipment, as we’ll show you today. True, some glue may linger in the removal process for various reasons, but we have remedies for that as well.
What is Decorative Vinyl?

A decorative vinyl is a material that can be used to coat a variety of smooth surfaces, including wood, metal, plastic, glass, and concrete. A self-adhesive sheet made of polyvinyl chloride (PVC) with a print on one side and a particular glue on the other, protected by a layer that helps it stick to the target surface.
Its deployment, as previously stated, is easy, quick, and clean. You don’t need to pay a professional to install them because you can do it yourself. You can even take them down yourself if you get weary of them if they are in poor shape. But how do you do it?
How to Remove a Vinyl from The Wall
It’s easier to put vinyl up than it is to take it off. Although it isn’t difficult, it is necessary to do it correctly in order to avoid leaving glue residue on the wall or damaging the paint. Some thicker vinyl can be removed by lifting the corners and gently pushing them away from the body without applying too much pressure, but you’ll almost always need to use heat. As mentioned below, you can use a dryer or a heat gun to provide heat.
With Dryer
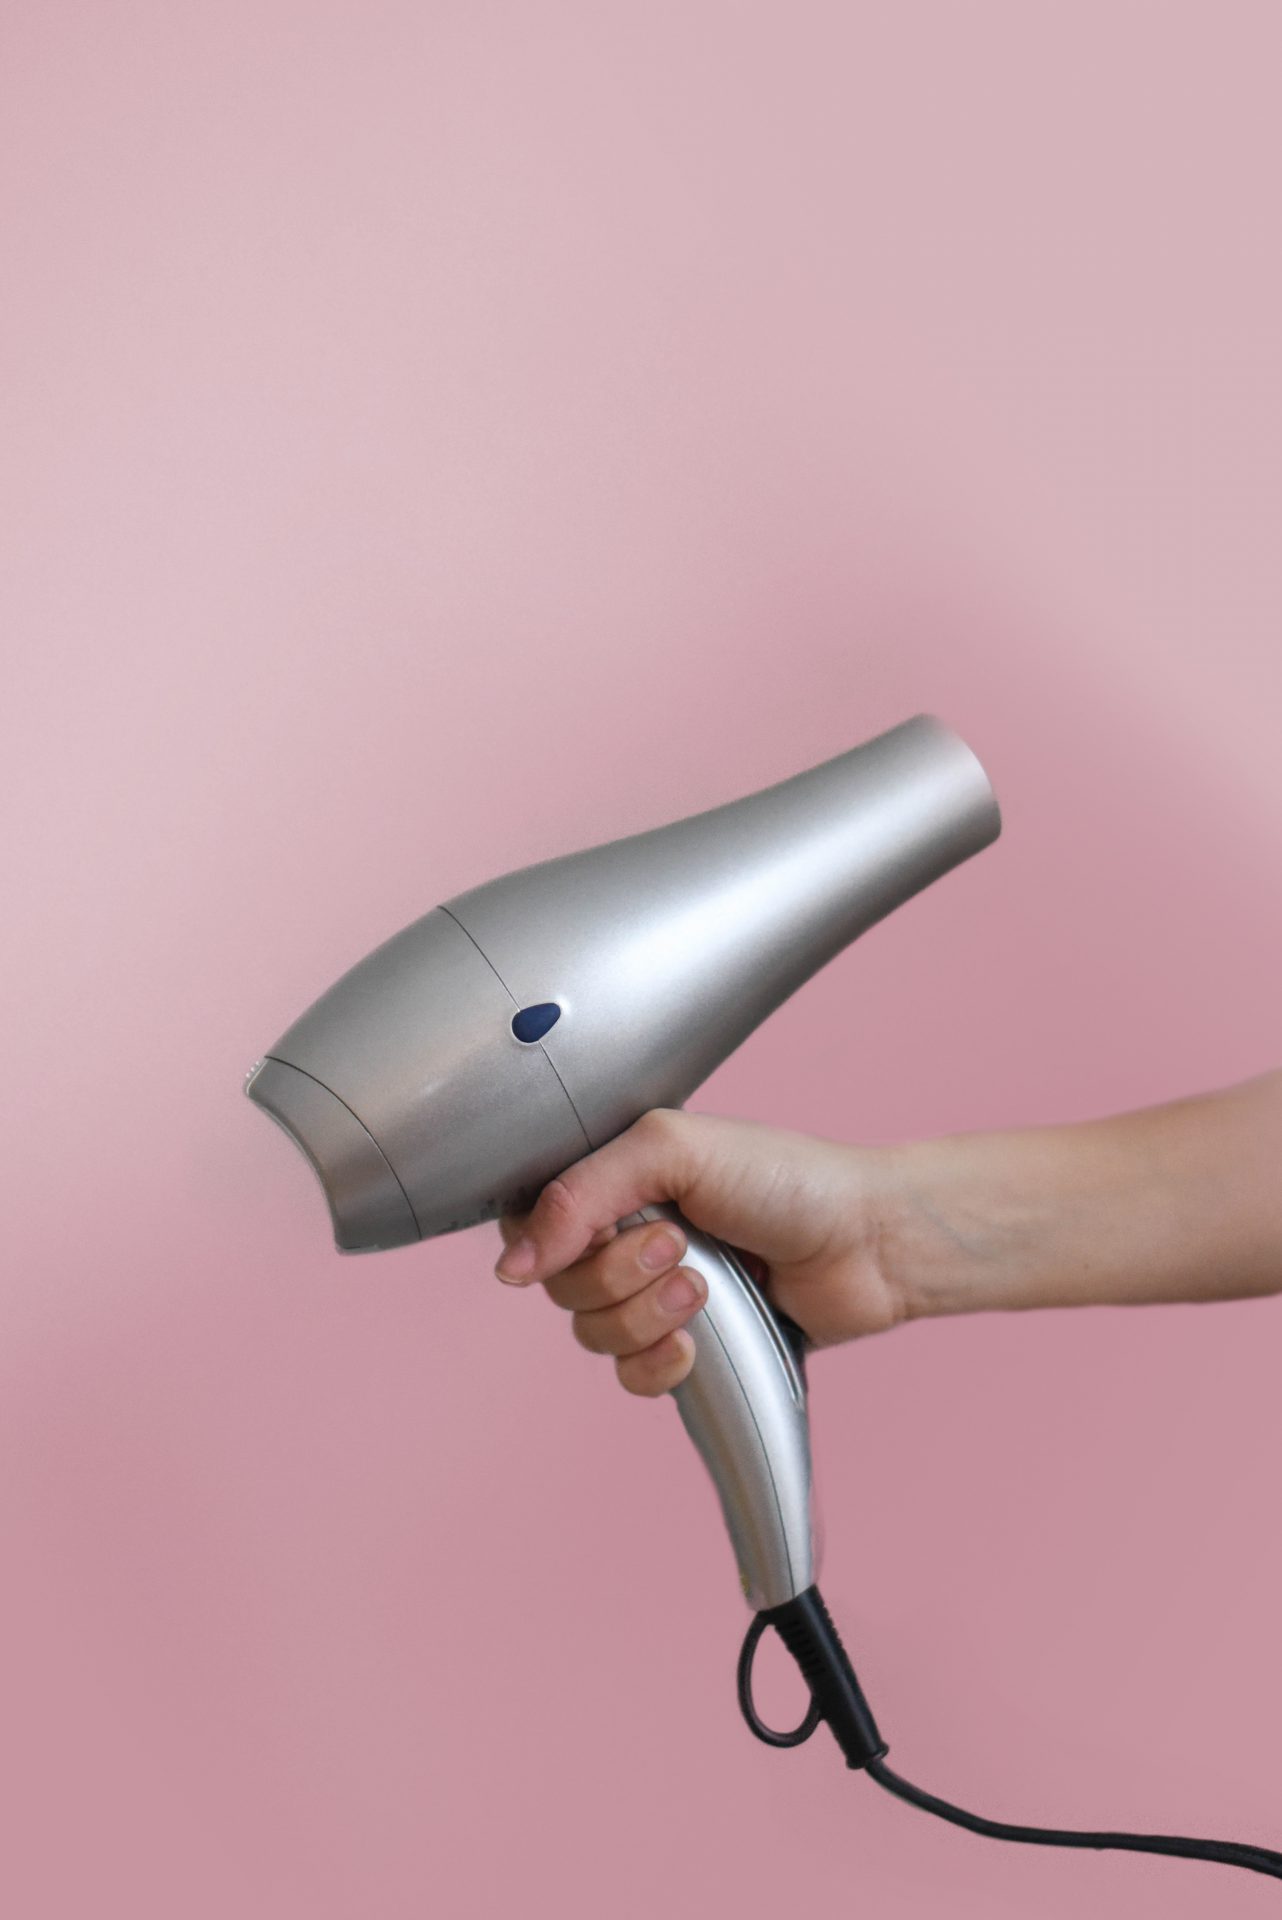
Heat is the greatest way to remove vinyl off the wall cleanly while keeping the glue from clinging to the wall. It will be easier if the surface it adheres to is less porous, but even the most porous surfaces can be successfully dried using a hand drier.
Remove any furniture that is necessary to work comfortably before beginning to remove the vinyl. Have a ladder available if you need it to reach the highest places, a hand drier with its accompanying extension cable to plug it in, and some gloves on hand before beginning to remove the vinyl.
To avoid burning the vinyl, start by applying heat with the dryer to one end of it at a distance of at least 10 cm. Use the dryer’s medium setting; if it resists too much, you’ll always have time to try the highest setting.
Heat for a few seconds on the same region, and when the vinyl becomes flexible, gradually pull until you feel some resistance, being cautious not to break it. Then, in that new region, repeat the process, providing heat as needed to release it gradually. To make it easy for you, work from the ends to the middle and from the top to the bottom of the vinyl is huge.
With Heat Gun
Because not everyone has a heat gun at home, the blow dryer approach is the most preferred for vinyl removal. However, if you have one, make use of it because it allows you to maintain a more consistent rhythm and speeds up the procedure slightly. A procedure that will be fairly similar to that explained previously for the dryer.
Begin removing the vinyl from one of the top’s ends. To prevent the plastic from melting, work at a low temperature and keep a safety space of at least 20 cm between the heat gun and the vinyl. Heat for a few seconds before removing the vinyl using gloves or a spatula. Wait and don’t try to run since it won’t work.
Are There Glue Residues Left?
When we remove the vinyl from the wall, we sometimes discover that adhesive remnants have remained on it. Residues that are unsightly may make it harder to paint the surface afterward. It’s more often than you might believe, and it can happen owing to both incorrect drying procedure application and a quality issue with the chosen product. Whatever the reason, the most important thing is to understand how to remove the adhesive remains.
To remove them, you’ll need a jar filled with methylated spirit, a sponge, and a white cotton cloth slightly dampened with water (so that the dyes don’t discolor the wall). Do you have everything you need? As you can see in the diagram below, the process will be pretty straightforward.
Soak the sponge in the alcohol thoroughly and wring it out slightly to prevent it from dripping. Pass it over the glue residue on the wall, gently pushing but without rubbing, and allowing it to act for a few seconds.
When you observe the glue starting to peel off, gently rub the wall with the cotton towel to remove it. To avoid damaging the paint, don’t apply too much pressure. Once the sponge has been removed, re-wet it with alcohol in a more superficial manner, let it dry, and check for any leftovers.