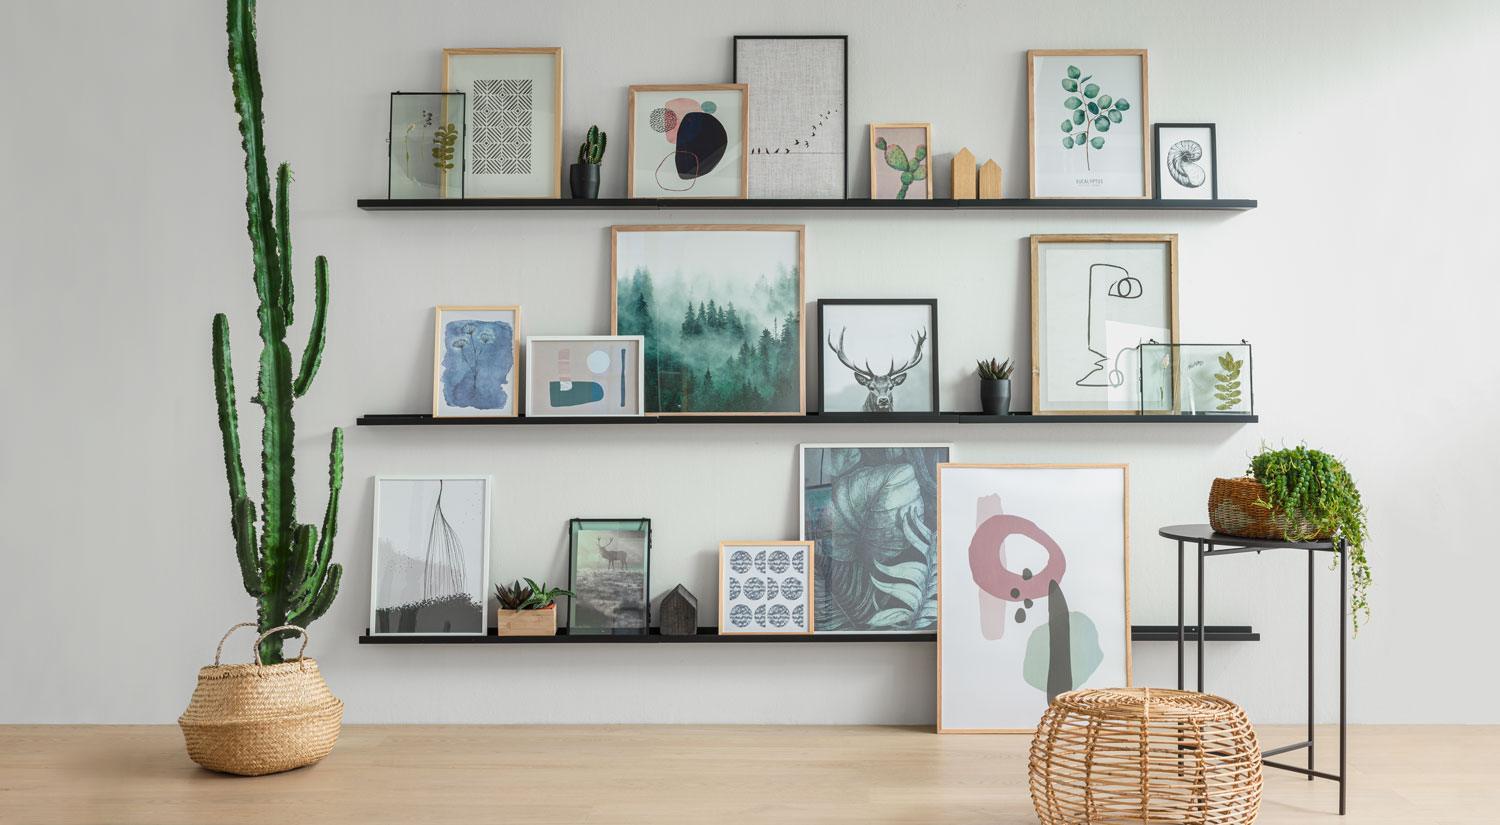
Do you have the feeling that something is missing from your wall? Take a look at this brilliant concept! It’s a basic shelf to adorn with images that you can make in a few simple steps. You’ll need wood, as well as a particular sealer for this type of material and some paint… It’s so simple!
What You Need Is:
Tools:
- Painter’s tape
- Cutter
- Pencil
- Sandpaper
- Paletin
- Applicator gun
- Ruler
- Keyhole saw
Materials:
- White glue
- Wood
- Painting
- Wood sealer
Step by Step:
1. Measure and Cut The Wood
Let’s get started! Get the three components that will shape the project first: the one that will link the shelf to the wall, the one that will form the base, and the one that will serve as the front edge. Its dimensions will be determined by the design you wish to apply to the shelf.
To do so, mark the wood with a pencil to serve as a guide for cutting each piece with the jigsaw afterwards. Don’t forget to sand all surfaces to make the finished product more appealing and professional!
2. Glue The Pieces
After all of the pieces have been cut, use white glue to adhere them to one another, based on the style you want for your shelf.
To ensure a better result, apply a thread of glue to the face to be attached, combine the two pieces, and press for a few seconds. Allow 24 hours for drying, or the time specified by the adhesive’s manufacturer.
3. Seal The Joints
Seal the joints once the building is complete. We recommend applying a specific wood sealant for this. This substance can also be used to fill up any flaws or holes in the wood.
To begin, use masking or painter’s tape to surround the joints you’ll be sealing, leaving only the region where the sealant will be applied. Then, using your moistened finger, glide a thread of product along the joints (cut the tube diagonally to make application easier). Allow the product to dry for another 24 hours.
4. Paint The Shelf
You’re almost there! You only need to add your particular touch to the shelf to make it come alive. To do so, pick a color that you like and paint it on the structure. Then, as directed by the manufacturer, let it dry for the specified amount of time.
And we are all set! You’ve already completed your shelf… Isn’t this not at all simple?