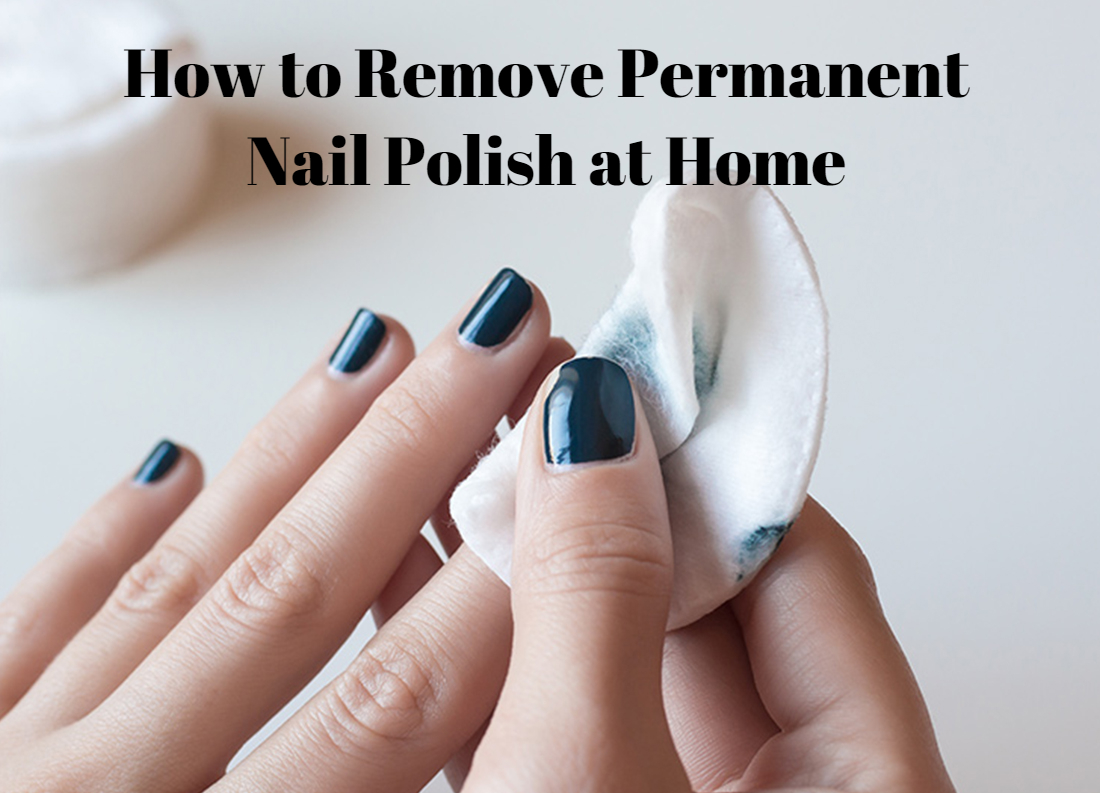
In this article, We’ll show you how to remove permanent nail polish without hurting your natural nails from the comfort of your own home. You should be aware that the majority of women are enthralled by permanent enamel.
Most of the time, they do not have the time or patience to go to the beauty salon, so they begin to remove them on their own. That is why, if you are someone who does not have a lot of free time. Learning how to remove permanent nail paint from the comfort of your own home is the finest option.
However, you should keep in mind that removing enamel at home necessitates extreme caution and attention. Because it is very simple to harm your natural nails during this procedure.
One factor to consider is the enamel’s durability; it will always be the chemical reaction that binds the enamel to your nail, preventing it from detaching from your natural nail. This implies that a botched removal might transmit infections to your nails, cause nail falls, and potentially cause lasting damage.
Despite all of the precautions that must be taken while removing enamel nails, it is assumed that it is only necessary to see an aesthetic since it must be done under the supervision of professionals. You, on the other hand, do not need to be concerned.
How to Remove Permanent Nail Polish Step by Step
It is easy to remove the polish at home, and you can ensure the health of your nails if you follow the steps properly and do not cheat or try to speed up the process.
Remember that patience is vital, so set aside a time during your day when you are more relaxed for the procedure to remove the permanent enamel. Then, we propose that you follow the instructions outlined below.
Step 1: Prepare All the Material
In addition to the patience and free time required to remove the permanent enamel without hurting your nails, you will just require a few products that you will very certainly already have at home to remove the permanent enamel.
You must follow the following instructions as well as the materials you will need to remove the nails in order to finish this procedure.
- Pure acetone.
- Aluminum foil.
- Hard file.
- Vaseline
- Moisturizer.
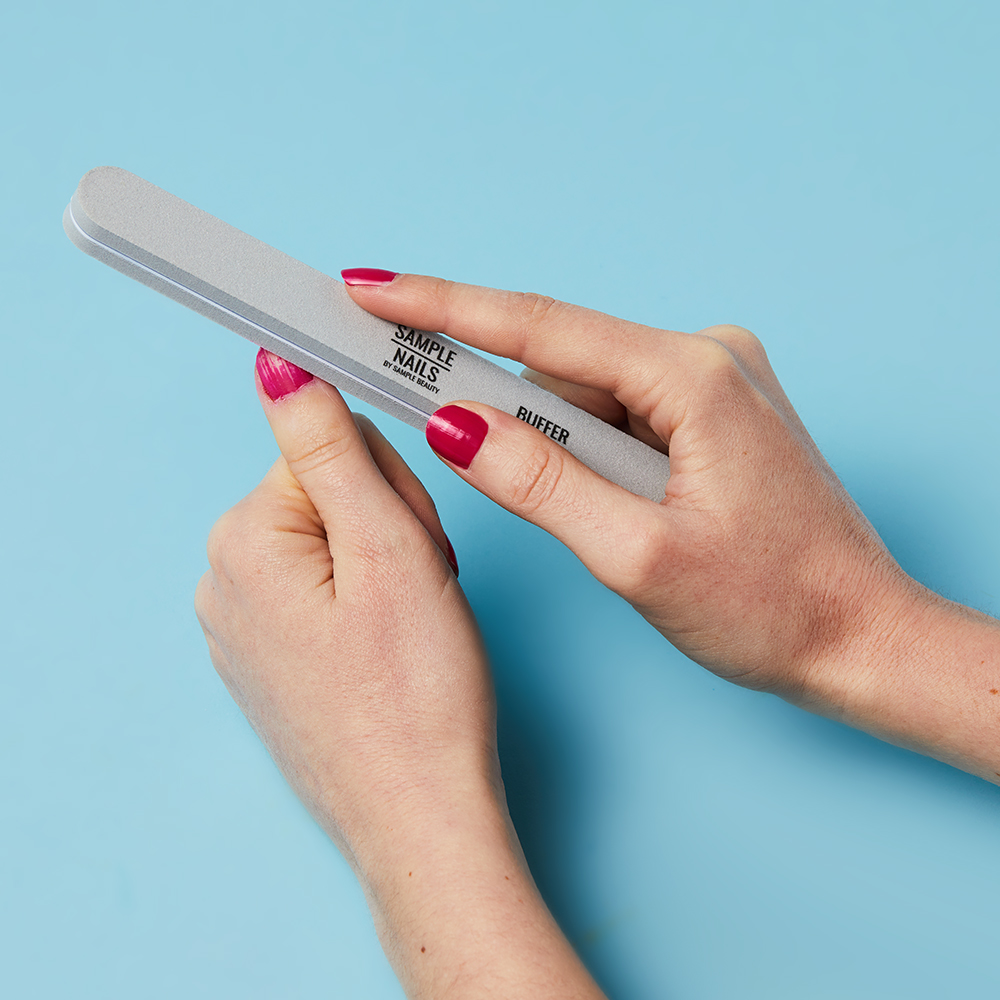
Step 2: Go Back to Permeable Coating
Keep in mind that permanent acrylic forms a closed coating that adheres to the nail, making it difficult to remove and providing permanence. This is in contrast to typical enamels, which are easily removed with just acetone.
The fact that its layer is closed prevents the acetone from mixing with the enamel and diluting it. As a result, the first stage in removing permanent enamel is to open the top layer, increasing its porosity while also increasing its absorption layer.
To accomplish this, use a firm file and gently rub the enamel until all of the shine has been erased. One of the goals you should remember is that you only need to shatter the top layer, thus you must rub really hard.
Step 3: Prepare Your Nails
The permanent acrylic is the one that becomes absorbent and more sensitive to acetone absorption once the top layer is removed. To make it stronger, you’ll need to use pure acetone.
Prepare the cuticles as well as the skin around the nails, just in case a bit of the solvent gets into touch with them.
Applying a small amount of petroleum jelly to the foot, surrounding the nail, to produce a protective coating is the simplest way to do this. As a result, this stage is quite critical.
Step 4: Apply the Acetone
Because pure acetone is stronger than any of the traditional enamels, you will only need it to remove the permanent enamel. Even if you can use a more concentrated treatment, it’s preferable to soak the nails first to ensure the greatest results.
You must use the porosity that you obtained in the second phase that we discussed to you by soaking only two pieces of cotton in acetone and placing them on your nails. You must ensure that the cotton is in contact with the entirety of the nail. However, avoid touching the skin whenever possible.
Now you must roll the tips of your fingers in aluminium foil to keep the cotton in contact with the enamel while also preventing the acetone from evaporating. The continual and close contact of acetone with thin polish softens the nail, allowing it to separate from the natural nail.
The entire process can normally be completed in within fifteen minutes, although depending on the type of enamel you’re using, it may take a little longer.
Step 5: Remove the Enamel
If you’ve waited long enough, most of the polish will have peeled off by the time you go to remove the aluminium foil and cotton. As a result, any remaining traces must be removed.
Use cotton that has been soaked in acetone and applied to the nails, then carefully rub in the direction of the tips of your nails.
Step 6: Hydrate Nails and Hands
The nails that are covered in permanent polish have been closed to the air for a long time and have also been subjected to pure acetone.
It’s natural for them to be quite sensitive, yet they also require some nutrients. You merely need to apply a nourishing oil to your nails to enhance their health, and don’t forget to apply a hydrating lotion to your hands and cuticles as well.
You must keep in mind that the skin has been exposed to acetone’s fumes or direct contact, so you must hydrate it as soon as possible to prevent your nails from flaking and your cuticles from lifting.