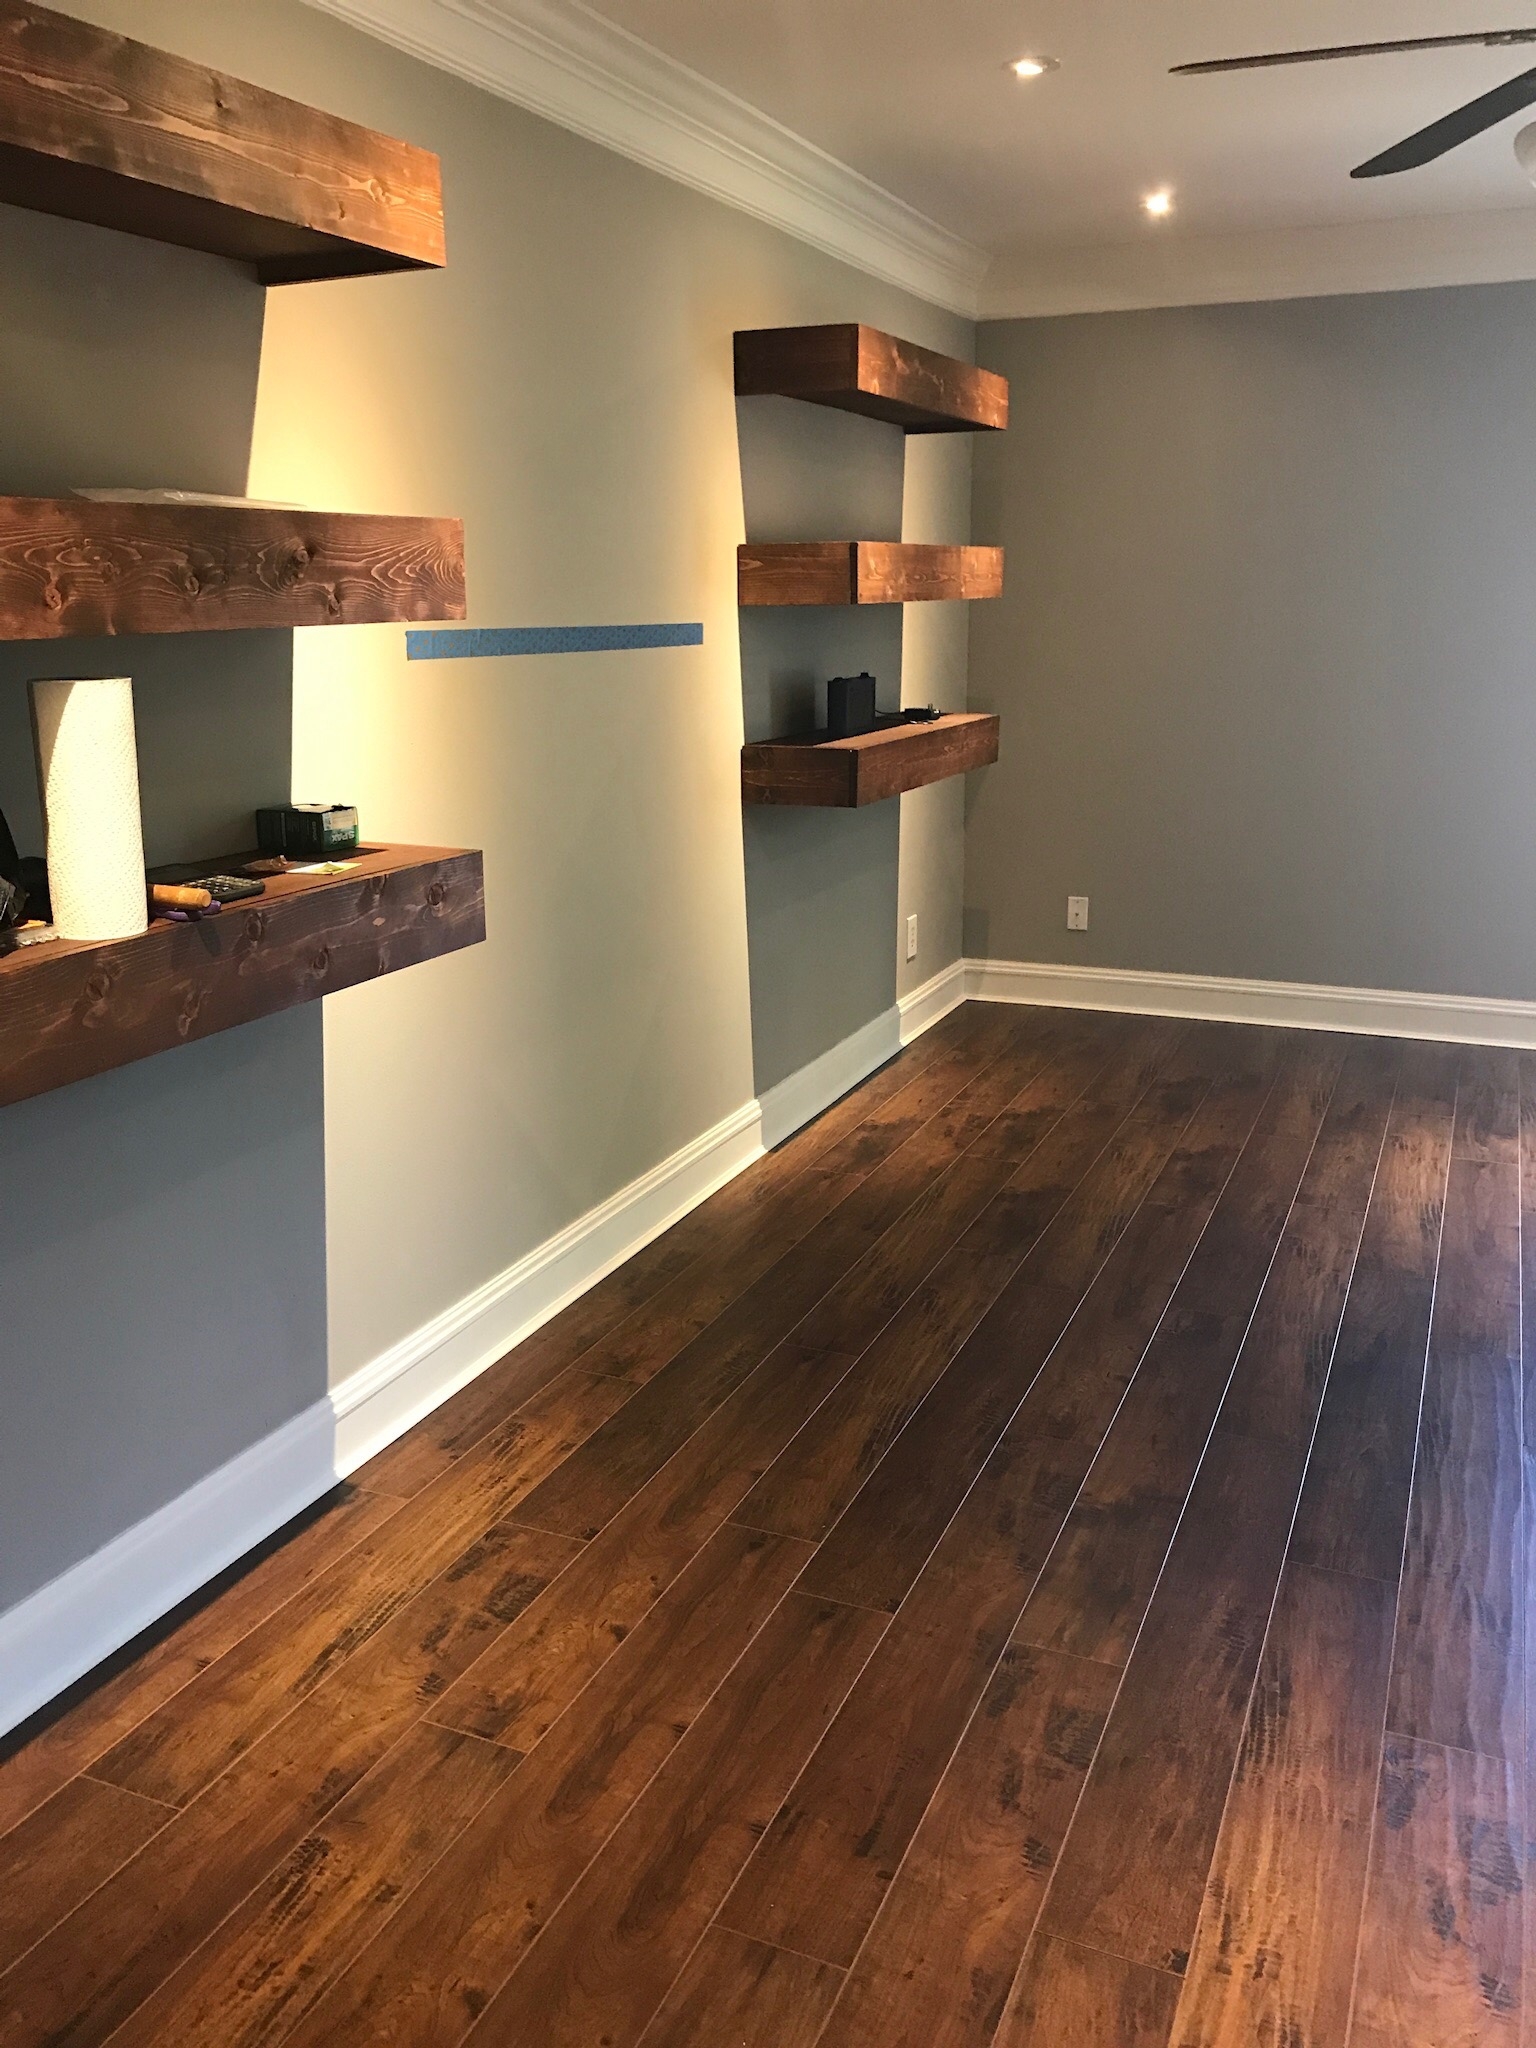
If you plan on renovating your room’s flooring during the renovation process, laminate flooring is a great option that will provide both warmth and character. It’s simple to set up and comes in various styles and colors to complement any decor scheme. Nonetheless, there are a few things that we recommend you find out about to ensure a perfect outcome.
Laminate Flooring
Laminate flooring, usually known as “laminate flooring” or just “laminate,” is not solid wood. It is critical to distinguish between them. Laminate flooring is composed of several layers, hence the name. A floorboard is made up of three layers:
The lower layer: It’ll make touch with the ground. It is known as the “counterbalancing layer” because it absorbs the irregularities of the support and so assures the stability of the parquet.
The middle layer: It is constructed of a composite material formed of wood fibers that have been agglomerated with a binder and hot pressed.
The top layer: The decor sheet, which gives the blade its final beauty, and a resin, which allows it to survive the many shocks and risks of ordinary life, are the two constituent elements.
Laminate flooring is less expensive and lighter because it is not made of solid wood. As a result, it is a solution that allows for the creation of a floor with an excellent quality/price ratio. It is simple to install and may be started by any do-it-yourselfer, whether skilled or not.
It is critical to consider the wear class of your laminate flooring when purchasing it. The latter allows you to select a floor that is more or less resistant depending on the frequency of passing; for example, class 21 may be appropriate for an adult’s bedroom, whereas class 23 is preferred for a living room or a child’s room.
Points to Consider Before Installing Laminate Flooring
When you begin installing laminate flooring, numerous things must be considered.
Purchase of Flooring
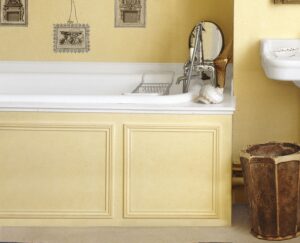
- It is possible to select a laminate for each room in the house. However, it should not be installed in a humid environment such as a bathroom or kitchen. It could not resist changes in humidity or temperature.
- It is critical to consider the wear class of your laminate flooring when purchasing it. The latter allows you to select a floor that is more or less resistant depending on the frequency of passing; for example, class 21 may be appropriate for an adult’s bedroom, whereas class 23 is preferred for a living room or a child’s room.
- If your home has underfloor heating, you must first confirm that the laminate flooring you choose is compatible with it.
- Consider purchasing threshold bars and skirting boards to match your laminate flooring.
- After purchasing your floor, it is critical to place the boards in the area where they will be installed 48 hours in advance. As a result, this floor covering will be able to adapt to the room’s temperature and humidity. Simply place the items, still closed, on the ground. This will prevent your parquet from expanding, retracting, or deforming.
Substrate Preparation
- Apart from carpet, you can put a parquet on any other type of floor covering, such as tile or linoleum. This means that if you wish to replace carpeting, you must first remove it.
- After removing the old floor covering, take care to remove all traces of glue that could cause an asperity bigger than 2 mm. If you don’t accomplish this, you won’t be able to properly clip your floorboards.
- In any instance, whether the floor is bare or covered, it must be flawless, i.e. flat, clean, and free of defects, in order for you to properly lay the boards. If there are any bumps, sand them down, and any holes, patch them up.
- Make a clean space in the room before you begin by emptying it and unhinging the doors so that you are not humiliated when laying the parquet. If baseboards already exist, you have the option of eliminating them or not. If you decide to keep them, you will need to add a quarter round to close the gap between the baseboard and the parquet. Mastic can also be used.
The Use of an Undercoat
It is possible to begin the installation of a laminate floor by installing an underlay and/or a vapor barrier. These elements are not required but are suggested in certain circumstances.
Vapor Barrier Film
The vapor barrier shields the floor from dampness. Its installation beneath the parquet floor is thus virtually unavoidable in the following circumstances:
- For the installation of laminate flooring on a ground floor without a crawl space beneath.
- For installing laminated parquet on a heated floor, whether at a low temperature or with a reversible heating/air conditioning system.
- For the installation of laminate parquet on mineral supports such as cement or concrete.
The Underlay
It not only absorbs noise but also adjusts for minor floor irregularities. It is suitable for use above the vapor barrier. It prevents laminated board deformation in the long run. Nevertheless, when you buy it, be sure that the floor model you’ve chosen does not already have an underlay integrated into the laminate plank. The underlay is crucial, and its selection should not be disregarded.
The Equipment Needed for The Installation
The following materials are required for laminate flooring installation:
- Sufficient laminate flooring
- Undercoat
- If necessary, a vapor barrier
- Adhesive
- Expansion wedges
- Baseboards, if any
- One or more door sills, depending on the room
- Measuring tape
- Jigsaw
- Mallet
- Puller
- Profile Copier
- Rule
- Pencil
- Acrylic seal
Here’s how to calculate how many packs of blades to purchase:
- Take measurements of the room’s width and length.
- Multiply these two dimensions to determine the room’s square footage.
- Add 10% to the final result.
- Divide the result by the area of coverage specified on the blade bundle.
This ensures that you have enough to cover the entire floor. Always remember to use the scrap of the blade that you have to cut to complete the preceding line at the start of the line to reduce losses.
Good Installation Tips
Before we begin, here are some pointers for a successful stance.
- You may notice subtle color variations amongst the various packs of blades you have purchased. To keep it from being too noticeable, open a few packets and combine the blades to create a more harmonious whole.
- The blades do not emerge from any direction. Many criteria must be taken into account. If the parquet can be installed in the direction of the light, it is also possible to place it in only one direction, depending on the size and shape of the room. Because the outcomes will vary depending on the direction of the laying, don’t be afraid to experiment beforehand by laying a few planks close to each other on the ground.
- If you must tap with a mallet, do so. Never tap on a tab if you don’t want to break it. You can avoid issues by using a tapping wedge. Similarly, the mallet is commonly used to gently tap on the drawbar. Work cautiously at all times to avoid damaging the laminate floorboards.
- Depending on the flooring you choose, cutting the boards may be challenging. If this is the case, consider investing in a blade puller. This handy tool will make your life a lot easier.
- Use a shape copier when dealing with barriers that require more sophisticated cuts, such as pipes, door frames, and so on. It will allow you to take an impression of the cut to be made, then transfer it to the blade to be cut, while keeping the expansion space in mind.
Installation of Laminate Flooring

It is now time to begin installing your laminate flooring.
- If you intend to install a vapor barrier, you must do so first. Make it go up along the baseboards; you’ll cut it once the floor is in place. Tape it together.
- Install the underlayment next. Tape it down to keep it in place. To eliminate unnecessary thickness, do not overlap the different lengths, but rather arrange them close to one another.
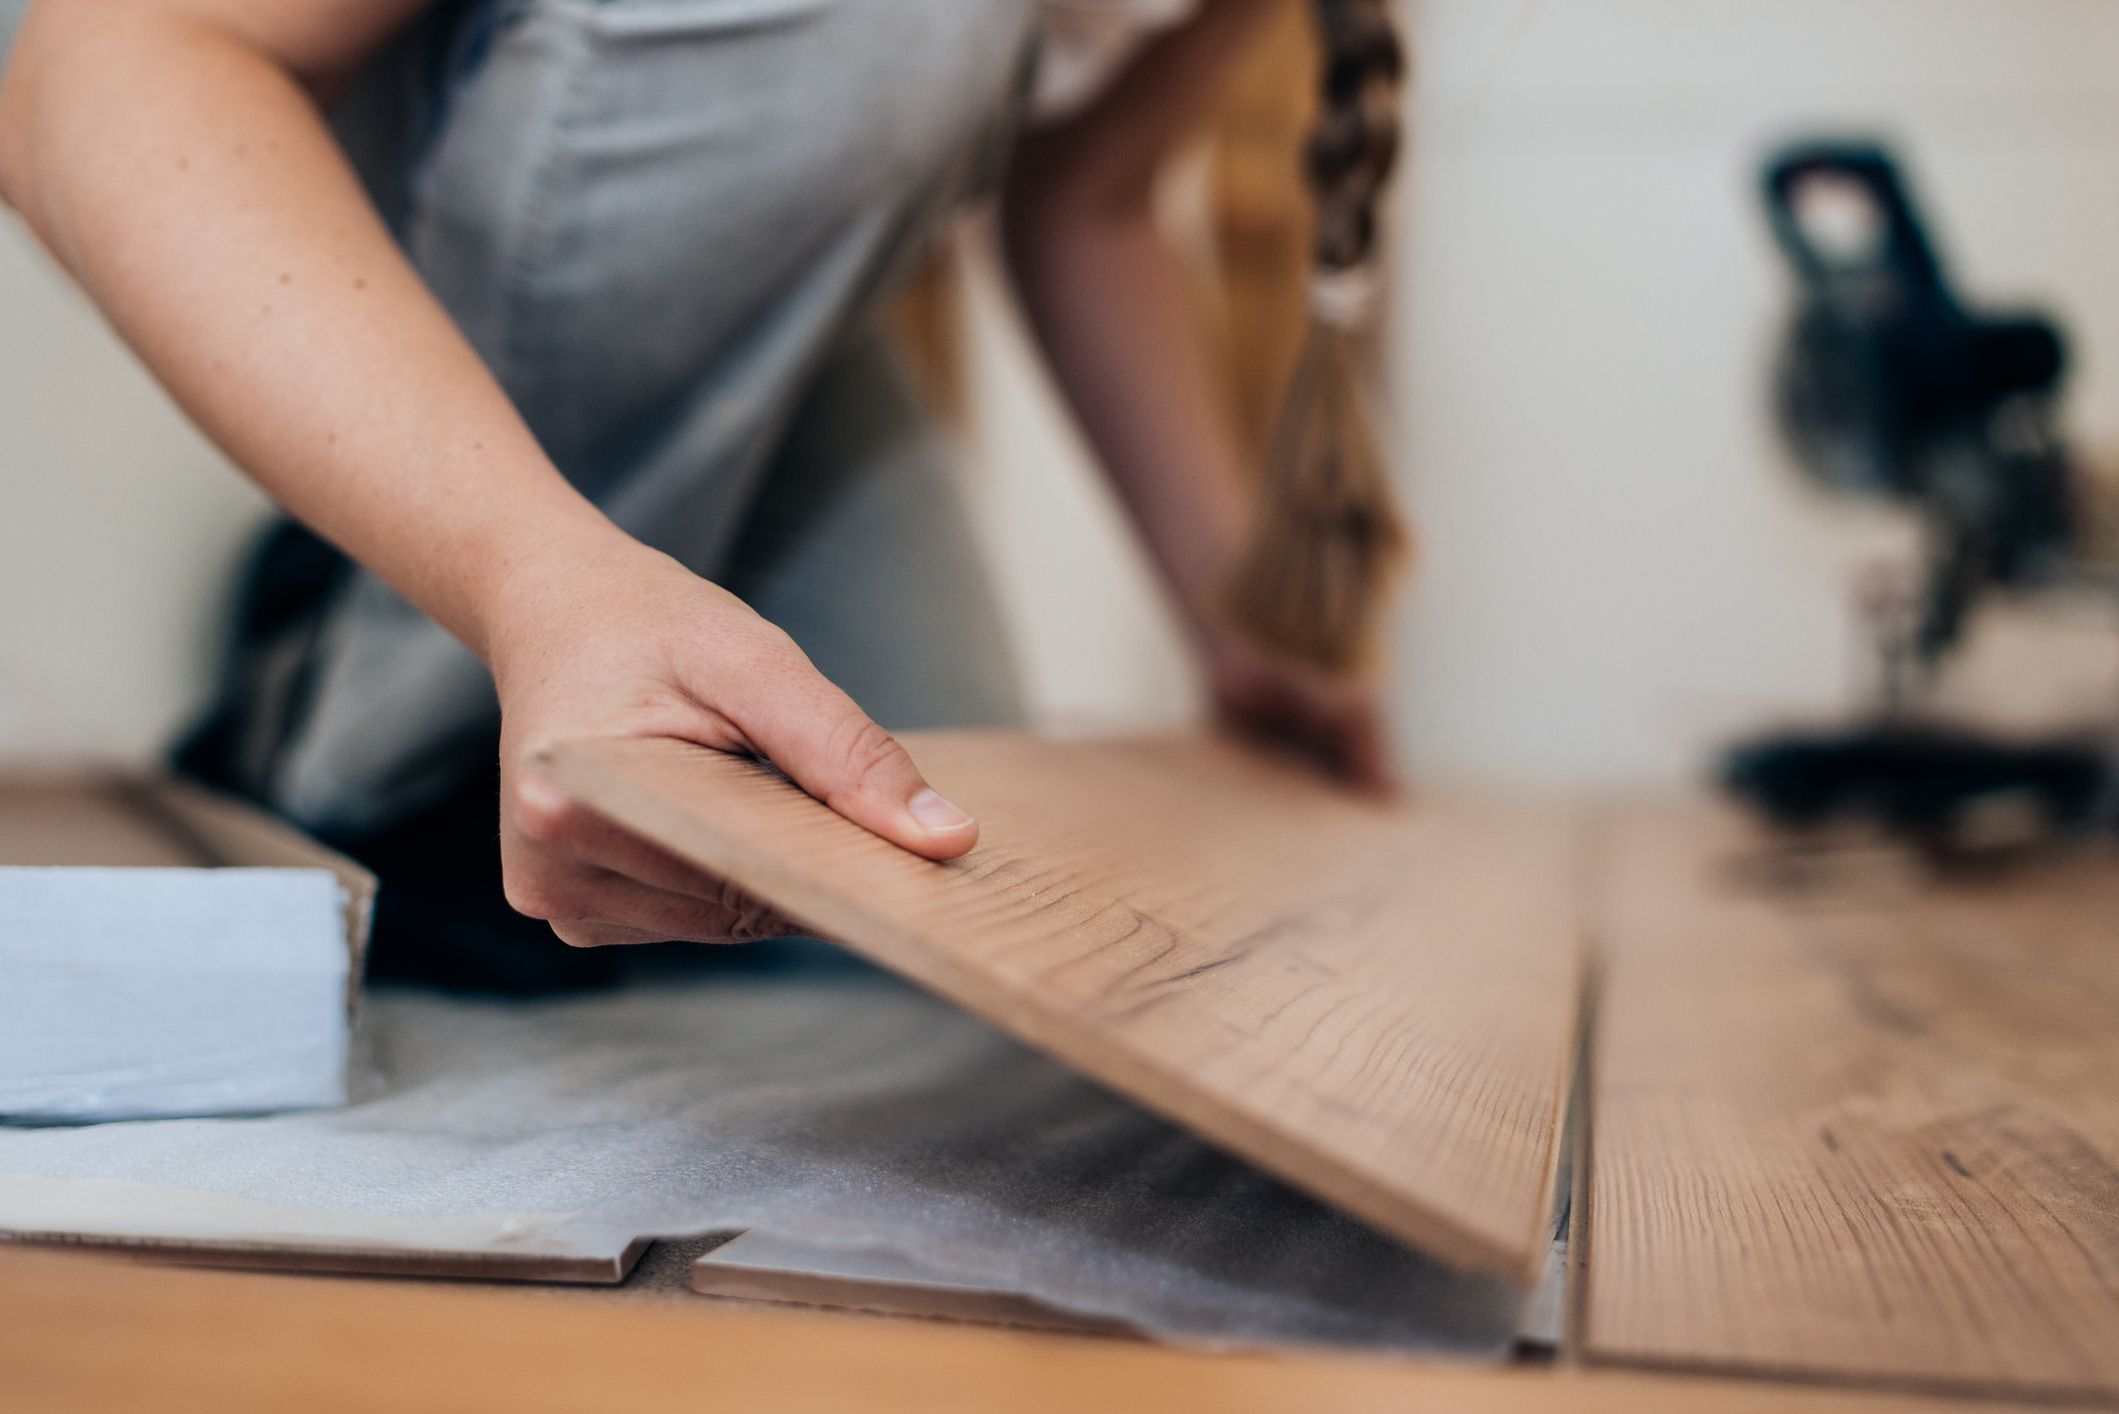
- The first board should be placed in the room’s corner, following the installation direction you’ve chosen.
- Place expansion wedges between the walls and the boards as you go.
- Place the planks one after the other until the first line is complete. The last board will need to be cut to the proper length. It is suggested that she stand at least 35 cm tall. It may be necessary to cut a portion of the first to do this.
- After that, you can install the second line. It is critical to begin the line with a plank that is not the same length as the first line. If you started the first line with a full slat, you can start your new line with the scrap from the last slat of the first line or cut a new slat to roughly 2/3 of its length. The tongue of the blade on the first line must then be inserted into the groove of the blade on the second line.
- Place all of the second line’s slats in this manner. To engage the blades together, a puller may be required.
- Repeat for the entire room.
- The extra vapor barrier can then be removed.
- Install the baseboards or quarter round, as well as the door threshold, after removing the shims.